LCD Control
SignalRGB’s LCD Control lets you design custom layouts for the LCD screens on your devices. You can show real-time PC stats, control media and audio, add touch-enabled tools, or build purely visual scenes for your desk. Layouts are made from LCD content blocks, and each block adds a specific function or visual effect, styled the way you want.
Getting Started
Section titled “Getting Started”Open the LCD tab from the navigation menu on the left side of the SignalRGB window.
-
Click the device dropdown in the upper-right corner of the page.
-
Select the device you want to customize. All compatible devices appear in this menu, and you can toggle each one between active and inactive.
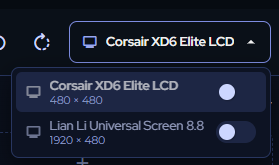
The LCD canvas resizes to match the dimensions of your device’s screen. You can now start adding blocks.
Blocks
Section titled “Blocks”Blocks are the building pieces of every LCD layout.
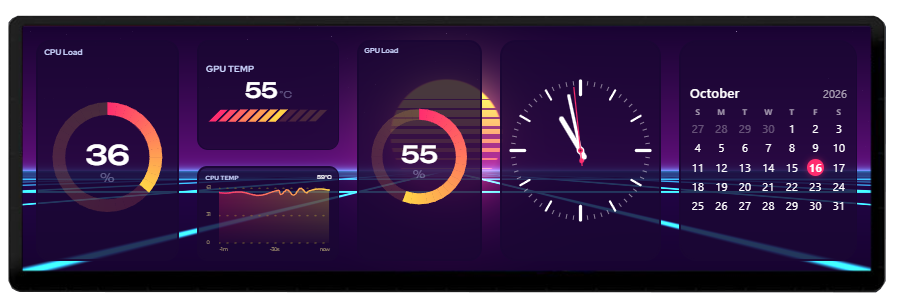
Block Types
Section titled “Block Types”- Info blocks — Show PC stats such as CPU temperature, CPU load, or memory load. These blocks can also show weather, the time, a Twitch channel’s chat, and more.
- Background blocks — Animated backgrounds and effects that give your layout style.
- Touch blocks — Control PC functions such as volume, set timers, write notes, play mini-games, and more, directly on touch-enabled screens.
Default Blocks
Section titled “Default Blocks”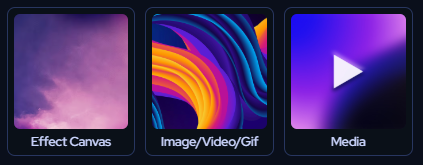
The block menu includes three default blocks:
- Effect Canvas — Displays your currently playing SignalRGB effect, so you can use it as a background.
- Image/GIF/Video — Displays an image, GIF, or video you upload, as a background or anywhere else in your layout.
- Media — Displays the artwork for whatever media is playing, such as a YouTube video or a Spotify track.
Blocks are modular. They automatically adjust their design to fit your device’s screen and to match how you resize the block.
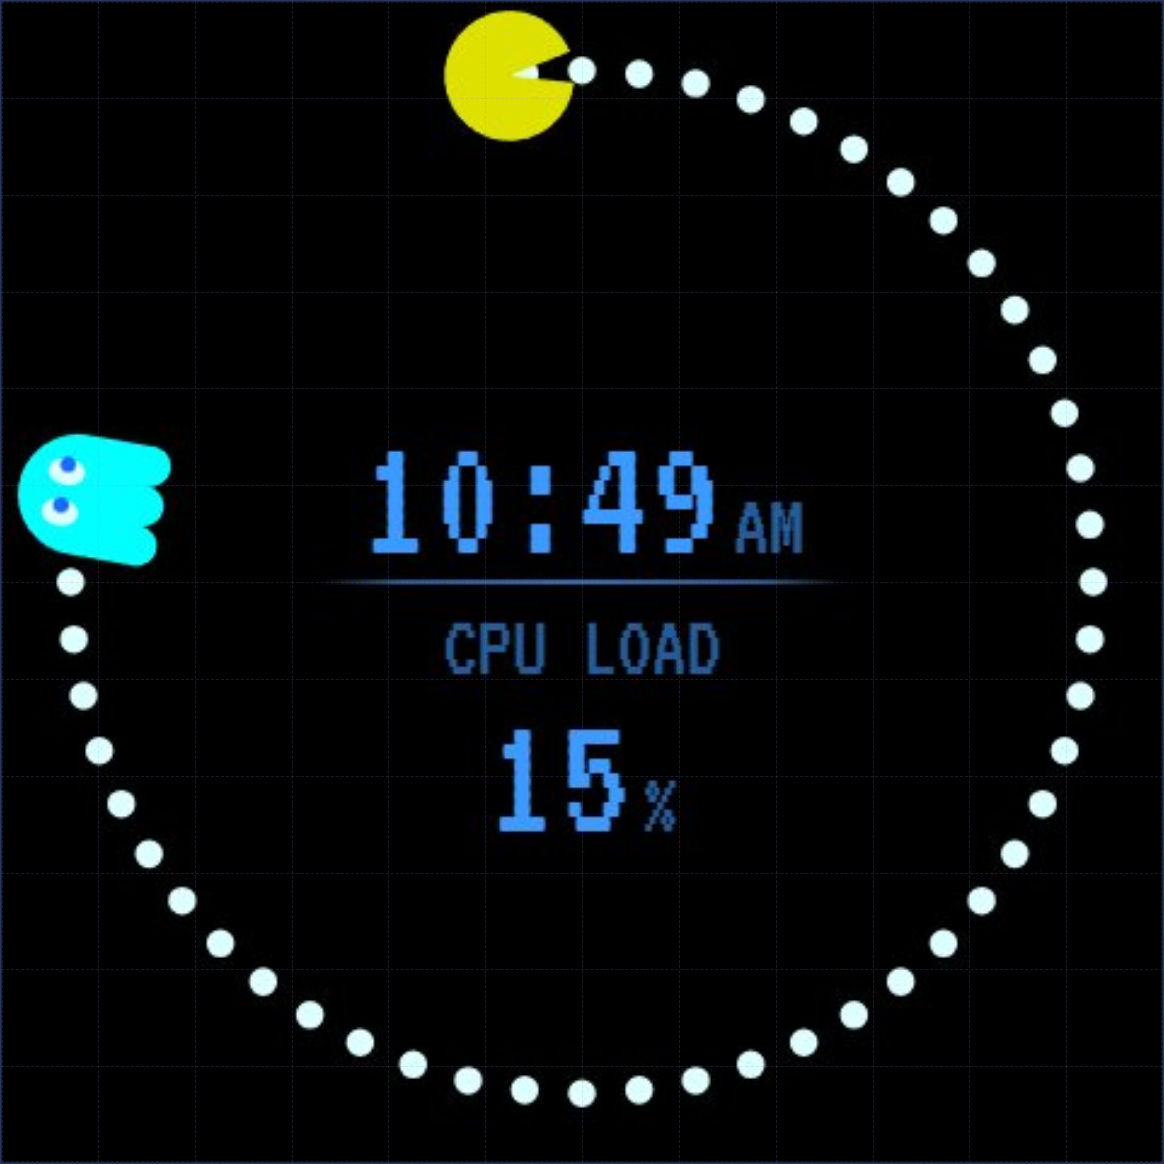
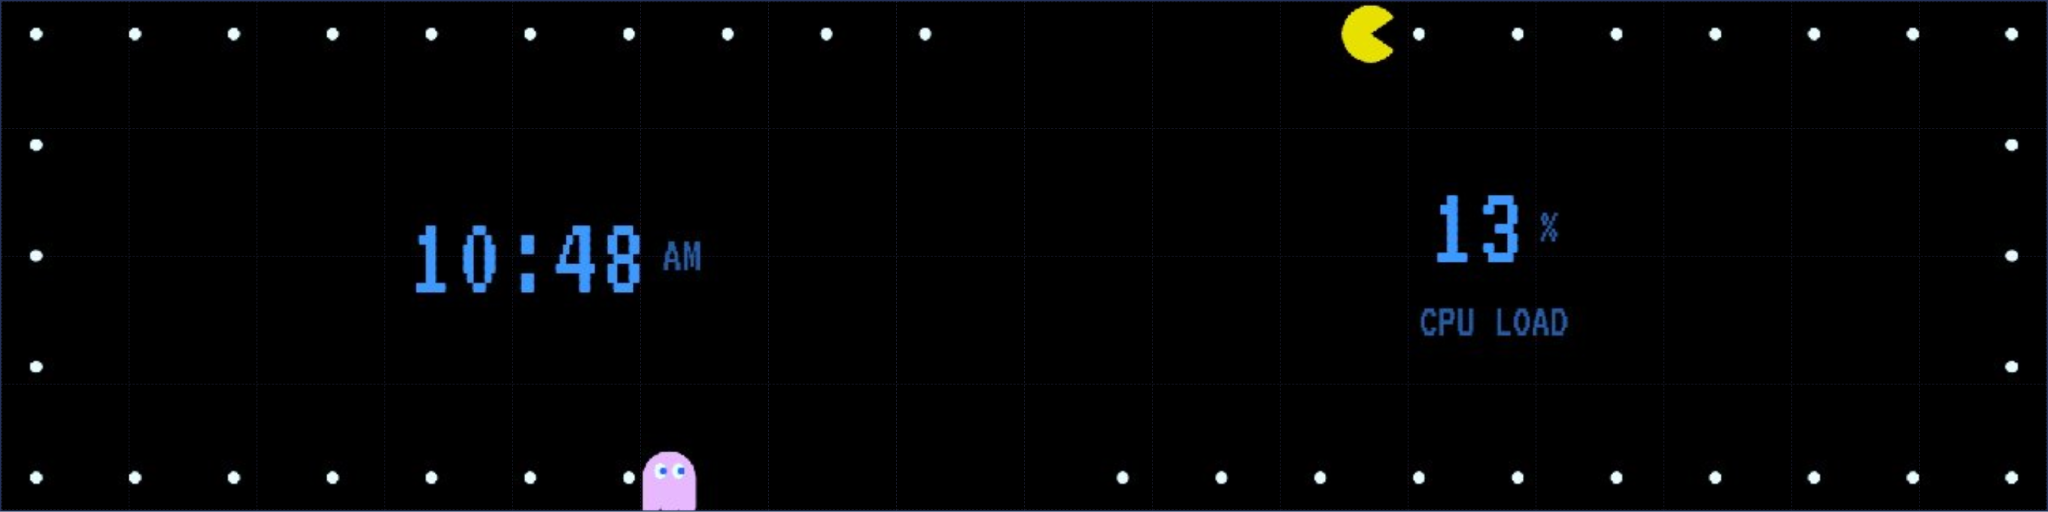
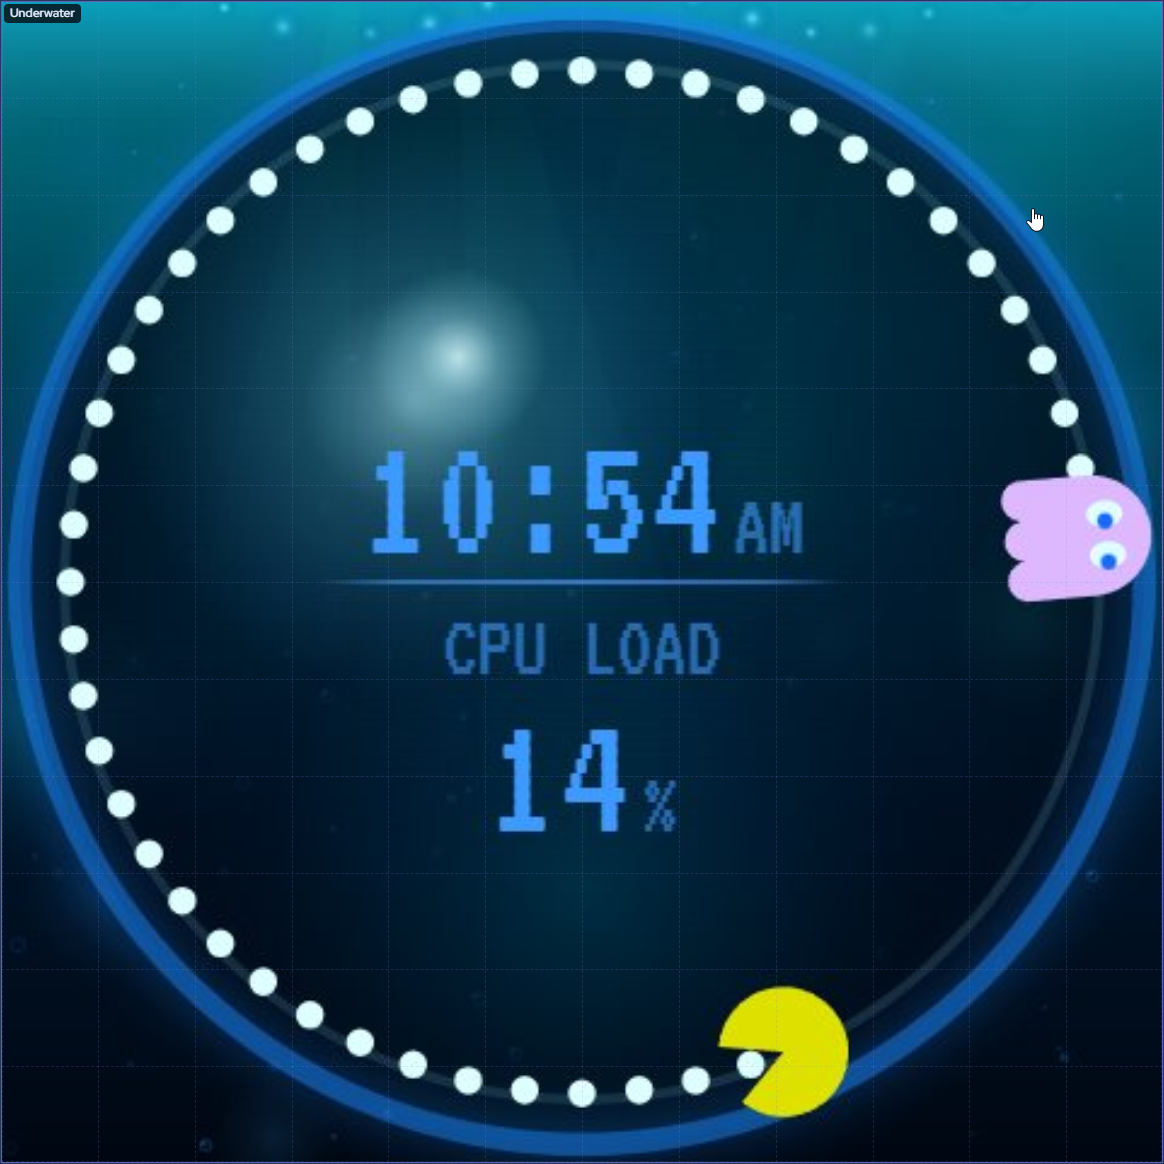
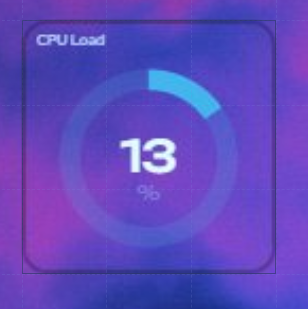
You can place blocks side by side or stack them on top of each other to combine function with style. For example, stacking Pac-Man on top of Underwater creates a totally new look.
Adding a Block
Section titled “Adding a Block”-
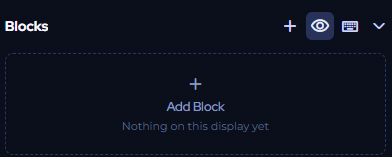
Click Add Block.
-
A menu opens with three categories:
-
Sources — The three default blocks (Effect Canvas, Image/GIF/Video, and Media). These are always in the menu and cannot be removed.
-
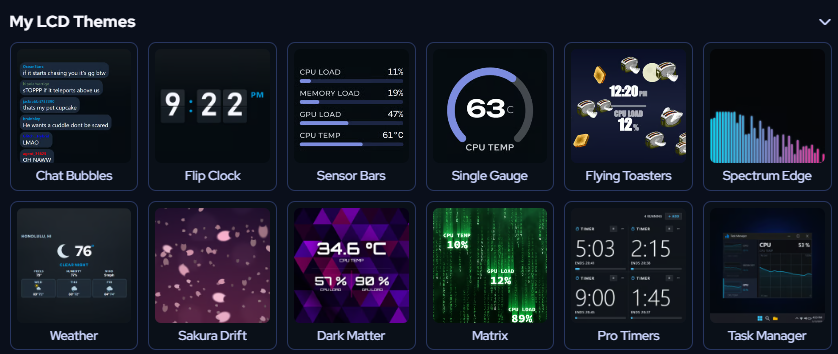
My LCD Themes — The blocks you’ve added to your Library from the Shop. This starts out empty. Browse the Shop and add the designs you want to start building your collection.
-
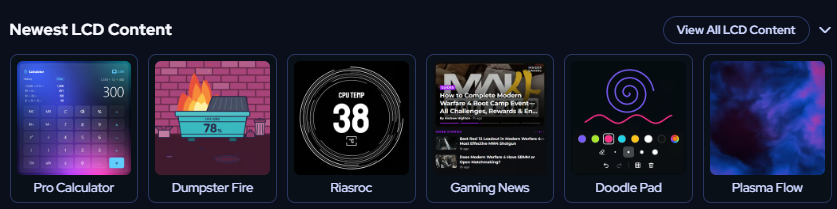
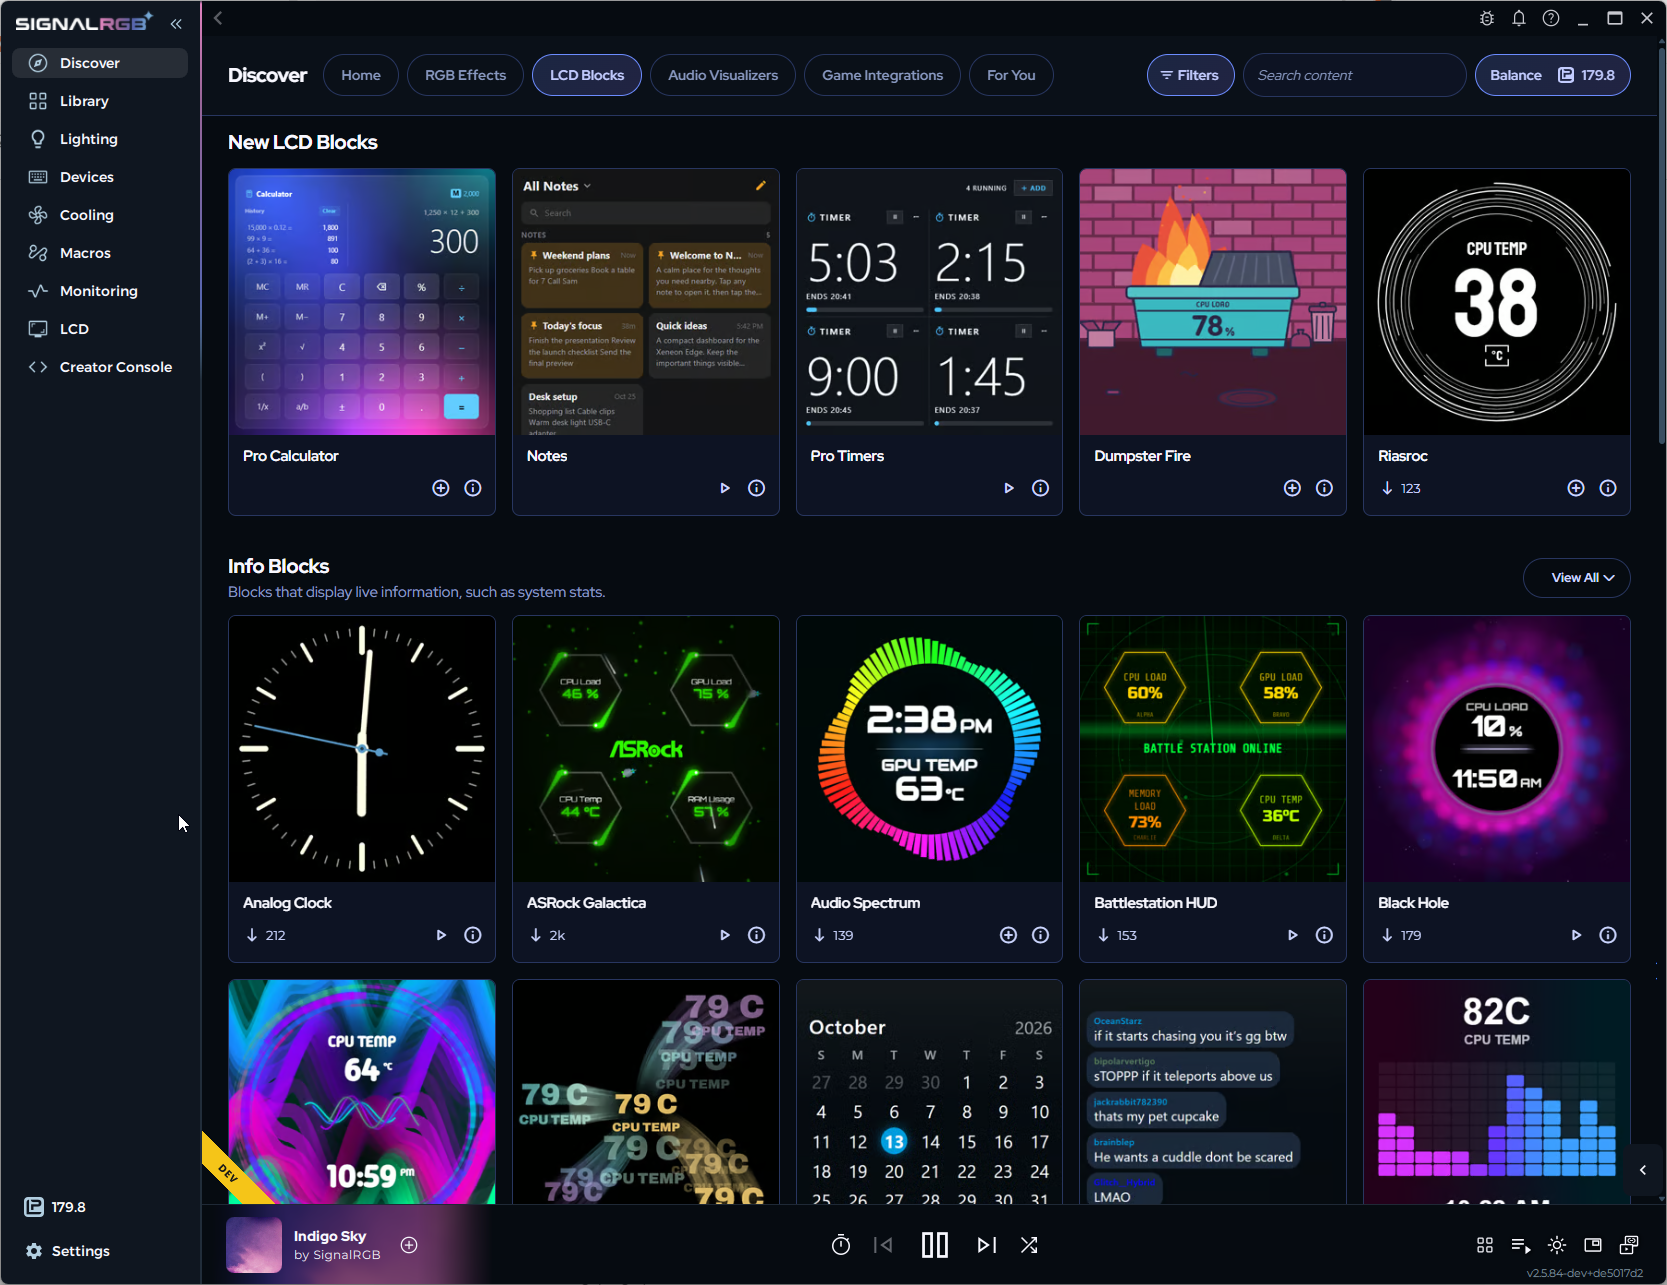
Newest LCD Content — Shows what’s new in the Shop. Clicking any of these blocks takes you to the LCD Blocks Shop, where you can browse and add blocks to your Library.
-
-
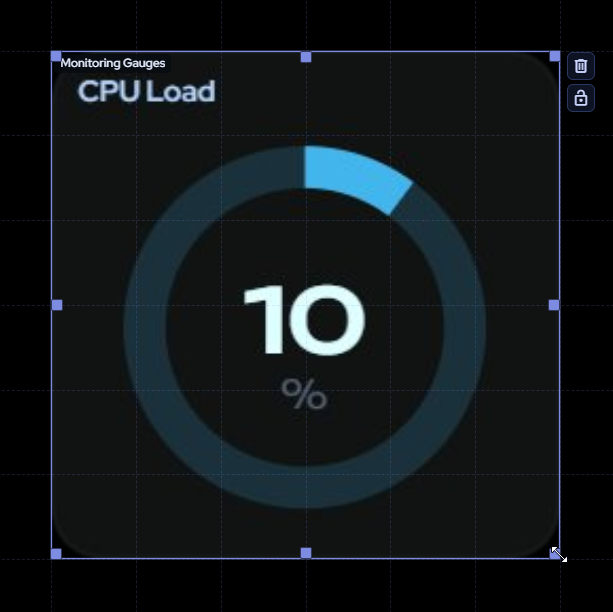
Select a block from the menu to add it to the canvas. Once a block is on the canvas, you can resize it and move it into position.
Editing Block Settings
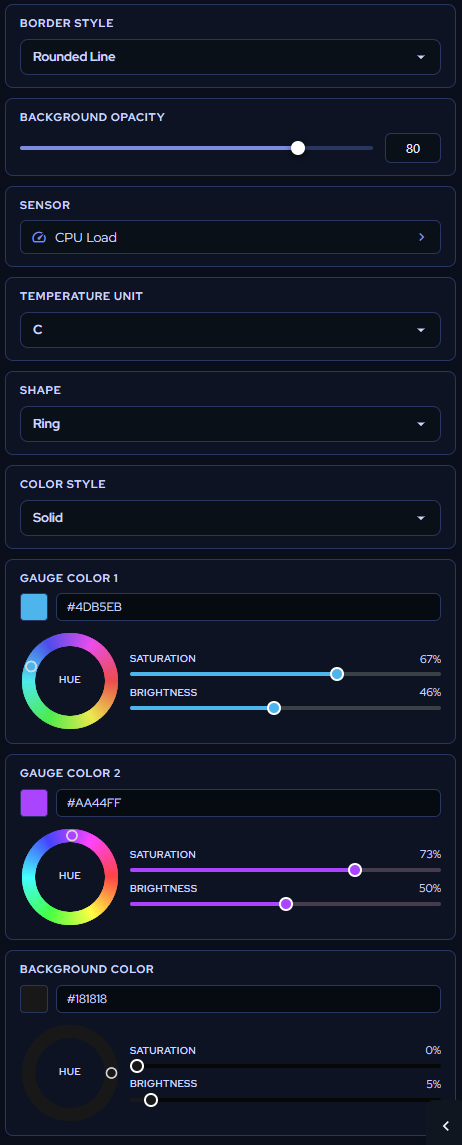
Section titled “Editing Block Settings”Select a block to open its settings in the panel on the right side of the page. Settings vary from block to block, but most blocks share a few common options, such as Background Opacity and Border style. These shared settings are especially useful when stacking blocks (see Layering Blocks).
For example, the Monitoring Gauge block includes these settings:
Saving and Sharing Block Settings
Section titled “Saving and Sharing Block Settings”Once you’ve customized a block, you can save its settings as a preset and reuse them anywhere.
-
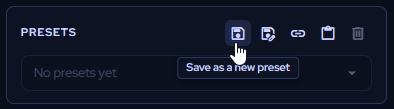
Save — Click Save at the top of the block’s settings and give the preset a name. You can load it on any instance of the same block, in any profile.
-
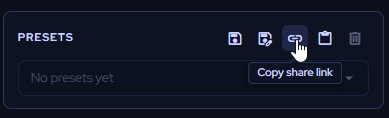
Copy Share Link — Copies the block’s current settings as a link.
-
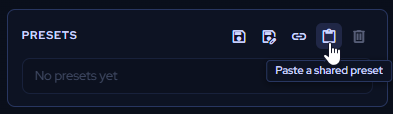
Paste Share Link — Applies copied settings to another instance of the same block. Share links also work between users, so you can send your settings to friends or post them in the community for others to use.
Building Layouts
Section titled “Building Layouts”You can arrange blocks freely on the canvas.
-
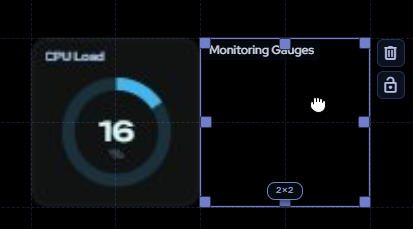
Move — Click and drag a block to a new position.
-
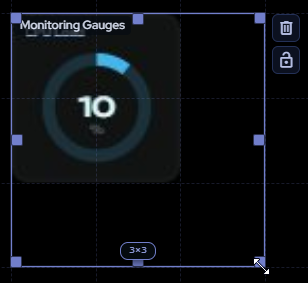
Resize — Click and drag from a block’s edge or corner.
-
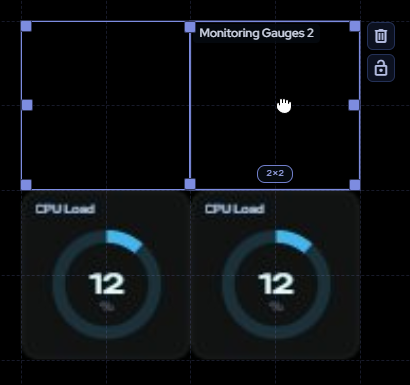
Select multiple — Hold Ctrl to select several blocks and move them together.
-
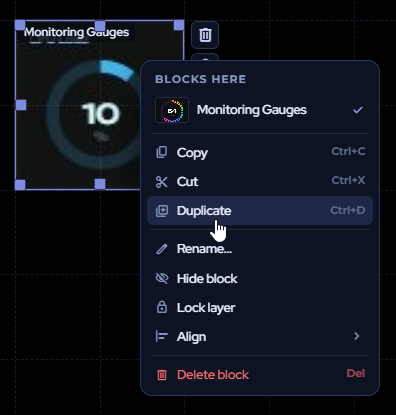
Duplicate — Use the toolbar to copy a selected block, including its settings, or right-click the block for the same options.
Layering Blocks
Section titled “Layering Blocks”Stacking blocks lets you combine a function, like a gauge, with a visual effect behind it. The layers list on the right side of the page shows every block on the canvas in stacking order. Click and drag blocks in the list to change their order.
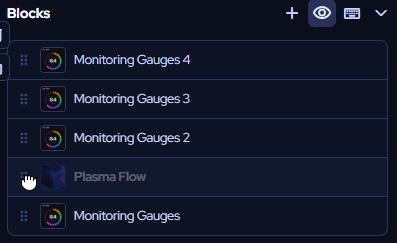
By default, a block’s background covers anything beneath it. To let lower layers show through:
-
Select the block on the top layer.
-
Find Background Opacity.
-
Set the slider to 0.
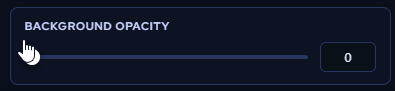
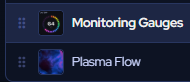
The empty space in the top block becomes transparent, and the block beneath it is visible.
Device Controls
Section titled “Device Controls”Use the toolbar in the upper-right corner to adjust your device and canvas:
- Power — Turns the display on or off.
- Brightness — Adjusts display brightness.
- Lighting Tuner — Adjusts brightness, color values, and the framerate of effects.
- Grid — Shows or hides a grid to help line up blocks.
- Rotation — Rotates the canvas to match how your device is physically mounted.
Saving and Switching Layouts
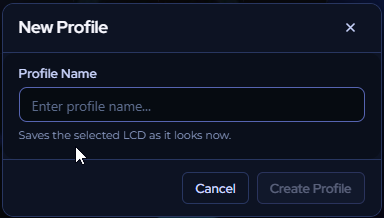
Section titled “Saving and Switching Layouts”To save your current layout as a profile, click New Profile in the upper-left corner.
Give the profile a name and choose to keep the current settings. To switch layouts, use the dropdown in the upper-left corner. All your saved profiles appear there.