Cooling
SignalRGB’s Cooling page gives you full control over your fans and pumps. From simple direct speed control to complex multi-point custom curves, this page covers everything you need to get started.
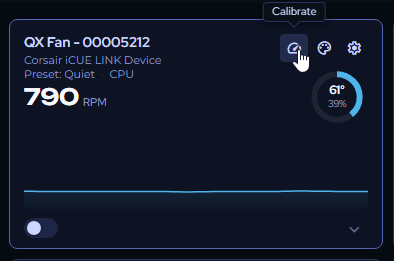
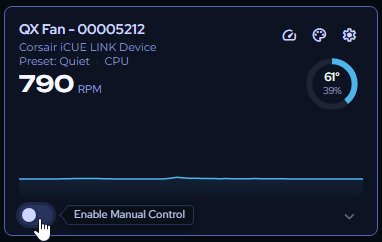
Calibrating your devices
Section titled “Calibrating your devices”When you first open the Cooling page, you’ll see a widget for each cooling device detected in your system. Before configuring anything, calibrate each fan using the Calibrate button on its widget.
Calibration measures each fan’s start and stall speeds. SignalRGB uses these to ensure it never sets a speed below the fan’s operational limit.
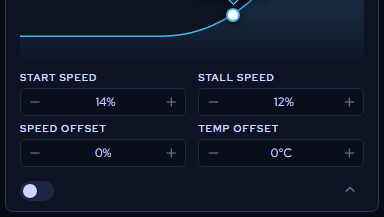
Start/Stall Speeds and Offsets
Section titled “Start/Stall Speeds and Offsets”Click the dropdown arrow on any fan widget to expand it. You’ll see the data collected during calibration alongside a graph of the current fan curve.
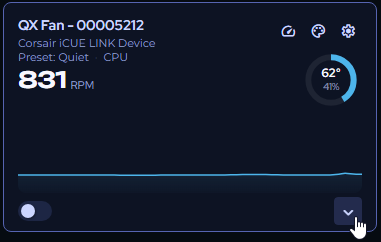
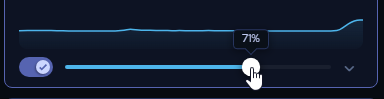
Direct Control Mode
Section titled “Direct Control Mode”The toggle in the bottom left switches the fan to direct control mode, letting you set speed manually anywhere from silent to maximum using the slider.
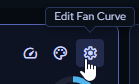
Editing Settings
Section titled “Editing Settings”Click the gear icon in the upper right of any widget to open its settings panel.

-
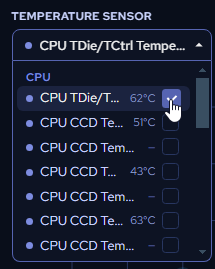
Temperature sensor — Choose which system sensor this fan or pump responds to.
-
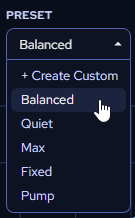
Preset — Select a premade fan curve profile, or choose a custom curve you’ve created.
Press Apply after any changes to sensors or presets.

Creating a custom curve
Section titled “Creating a custom curve”-
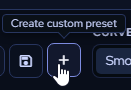
Click Create Custom Preset.
-
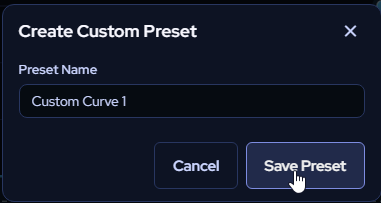
Enter a name and click Save.
-
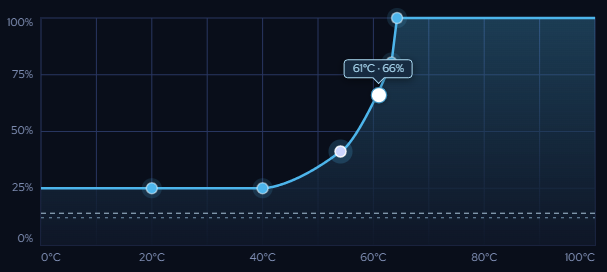
Hover over the curve graph and click to place points, then drag to adjust.

-
Choose your curve type:
-
Smooth — Gradual transitions between points; use the Curve Strength slider to fine-tune each segment.
-
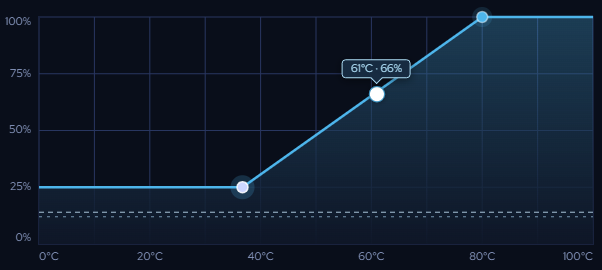
Linear — Straight lines between points; drag points freely.
-
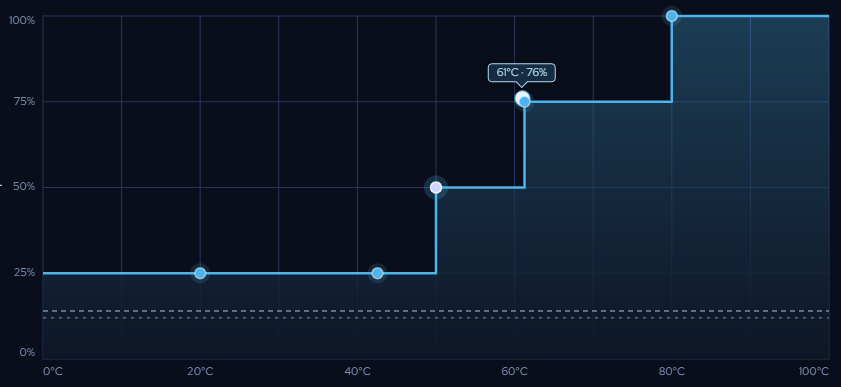
Stepped — Sudden jumps in RPM at defined temperatures; drag points freely.
-
-
Use Ctrl+Z / Ctrl+Shift+Z to undo and redo changes.
-
Click Save Preset when finished and apply it to the fan.

Customizing widget appearance
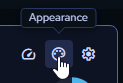
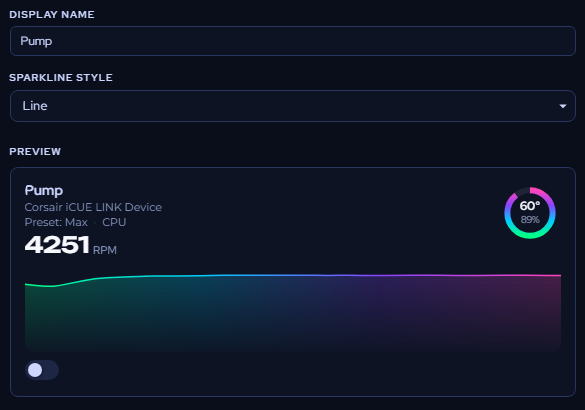
Section titled “Customizing widget appearance”Click the Appearance button (upper right of any widget) to change how it looks.
-
Name — Rename the fan or pump to something descriptive.
-
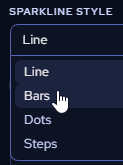
Graph style — Choose from several display options.
-
Color — Set a solid color using the color range selectors or a direct hex value. Switch to Gradient mode for additional options:
- Add and reposition nodes on the gradient slider or via the panel below.
- Adjust each node’s color individually.
- Use Randomize Gradient to generate a random color set, or Flip Gradient to reverse the order.
- Right-click a node on the slider (or use the panel below) to delete it.
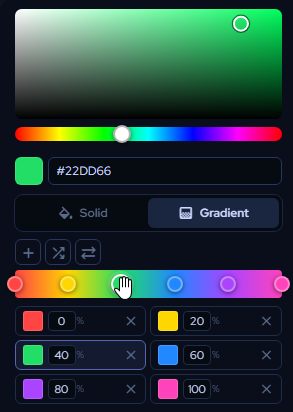
- Use the Text to Gradient tool to generate a color scheme from a keyword — for example, “Tiger” produces warm oranges, “Aurora” produces a northern lights palette.

To apply your color settings to all widgets at once, use the Apply to All toggle.

Click Save Changes to apply and return to the main view.
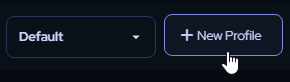
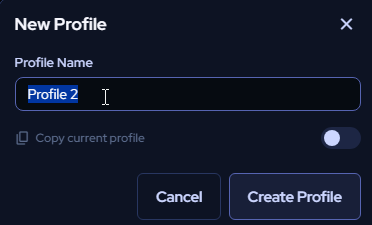
Cooling profiles
Section titled “Cooling profiles”You can save multiple Cooling page configurations as profiles. Click New Profile, give it a name, and choose whether to base it on your current settings or start from scratch. Use the profile dropdown at the top of the page to switch between saved profiles at any time.