How To Configure Game Integration Effects
SignalRGB game integrations sync your RGB lighting to in-game events. SignalRGB analyzes critical regions of your screen, such as health and mana bars, to determine when to trigger effects. This method works well in most cases and also allows us to rapidly build integrations for the latest games, but it does come with some restrictions that are covered in this guide.
Game Integration Requirements
Section titled “Game Integration Requirements”-
Pro subscription or Light Points purchase for each integration
-
Fullscreen Borderless display mode
-
Default Game UI settings (no UI mods or custom scaling)
-
HDR disabled (recommended for game integration trigger accuracy)

-
Color filters disabled (colorblind modes, f.lux, accessibility options, etc.)
-
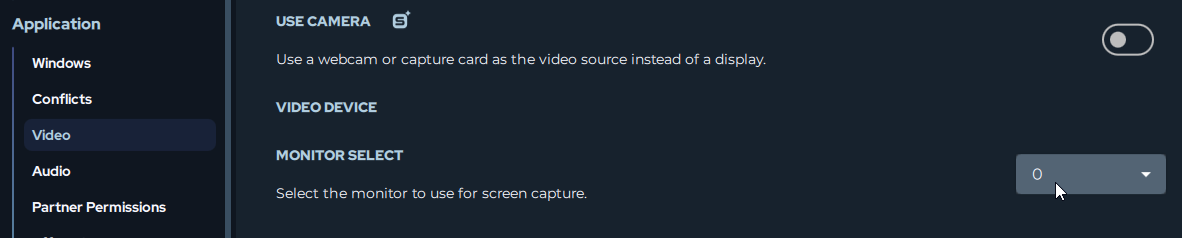
Select the display running the game in SignalRGB video settings — Settings > Application > Video
Layers
Section titled “Layers”Game integration effects operate in layers:
Background Layer: All game integrations default background is screen ambience which mirrors your screen.
Event Triggers: These are the custom animations that play on top of the background layer when specific in-game events occur, such as red splatters on your RGB setup when you take damage.
HUD Displays: Many integrations can display important game information directly on your devices, like a health bar. These are adjustable elements that can be placed anywhere such as on your keyboard. More information about configuring these HUDs is found further down in this guide.
Supported Games
Section titled “Supported Games”SignalRGB offers game integration effects for a growing library of popular titles. Browse all available integrations in the Shop tab under the Game Integrations section, or view the full list at marketplace.signalrgb.com/tags/game-integration.
Installing Game Integrations
Section titled “Installing Game Integrations”-
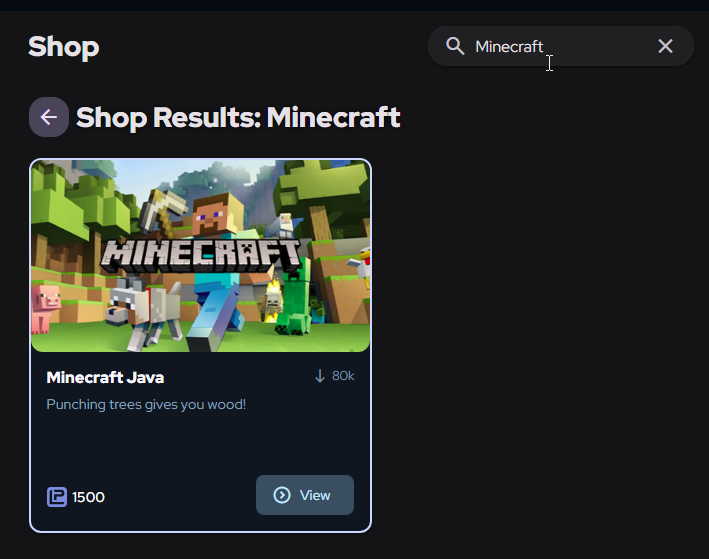
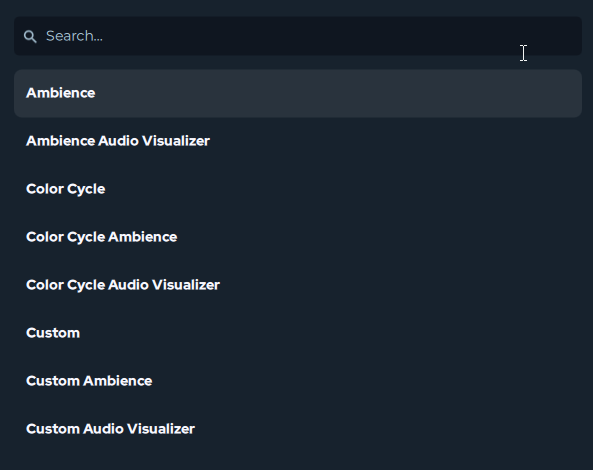
From the Shop tab on the left, navigate to the Search Bar at the top of the screen.
-
Search for the game integration effect you’d like to use, or scroll the Game Integrations section of the Shop to discover what titles we have integrations for.
-
Click on the effect you’d like to use.
- If you are a Pro Subscriber, you’ll see a Download button to download and install the effect.
- If you are not a Pro Subscriber, you’ll see the Light Point cost of the effect to purchase it.

Customizing Integrations
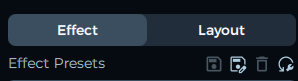
Section titled “Customizing Integrations”After installing an integration, navigate to the Lighting tab on the left side of the app and then make sure you’re on the Effect page in the top right.
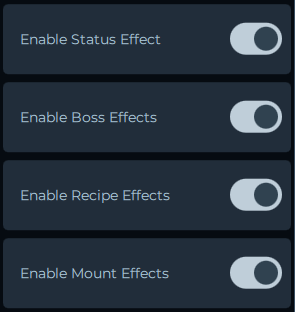
Now on this page you can:
-
Enable/disable specific triggers — turn off effects you don’t want.
-
Position HUD Elements — place health bars, mana displays, and other HUD effects where you want them.
-
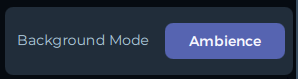
Change Background Mode — if you don’t like the default screen ambience background layer, there are plenty of other background modes.
-
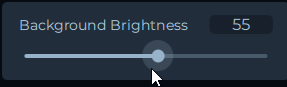
Control Background Brightness — adjust or remove the background layer entirely.
-
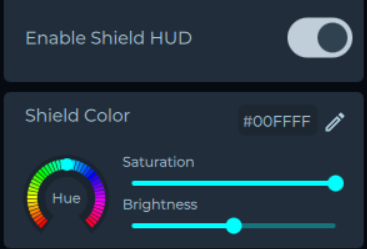
Color Customization — some effect colors can be customized. Adjust colors to match your personal preference. If an effect can be color customized, you’ll see the option to do so below the effect.
Ability Effects
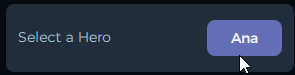
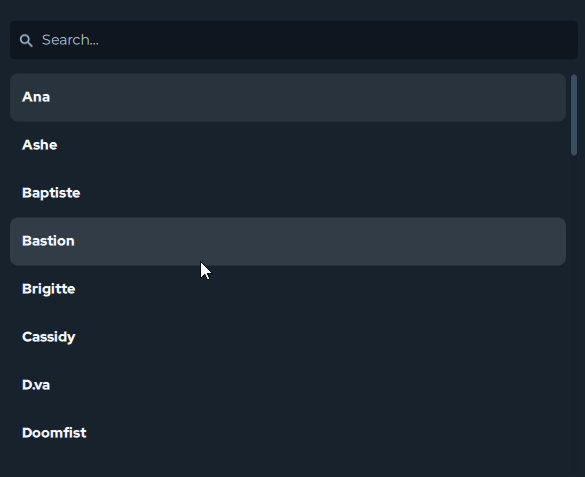
Section titled “Ability Effects”Integrations with ability effects such as League of Legends, Valorant, Overwatch, etc. will require you to select the character you are playing with before the match starts in order for the ability effects to trigger correctly.
Configuring HUD Effects
Section titled “Configuring HUD Effects”Many game integrations allow you to display important meters, like health and mana bars, on your devices. These are known as HUD Effects and HUD Bars.
Enabling HUD Effects to Configure
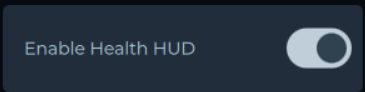
Section titled “Enabling HUD Effects to Configure”Enable the toggle labeled Adjustment Toggle to enter preview mode, which allows you to see where the HUD bars will be once you are in game. When you are finished adjusting them, be sure to turn this toggle off or else they will always display!

Positioning HUD Bars
Section titled “Positioning HUD Bars”How you position the HUD bars is entirely up to you. You can have it display just on your keyboard, or even a portion of your keyboard such as F1–F12 keys, or you can even make your entire PC setup react to the HUD bar.
To position HUD Bars on your devices:
-
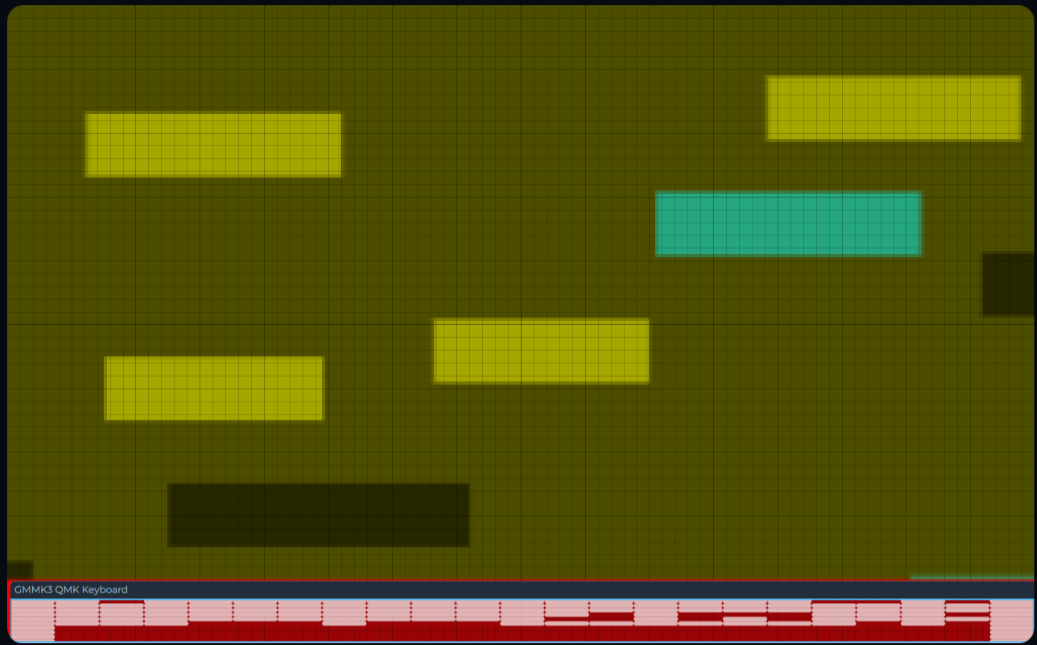
Enable the associated Adjustment Toggle to make the HUD Bars visible.
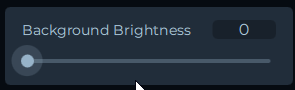
- Set Background Brightness to 0 so only the bars are visible, which makes adjusting easier.
-
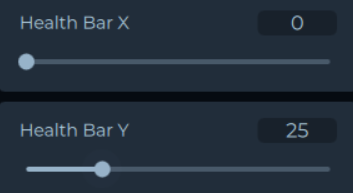
Use the X and Y position controls to move the HUD Bars.
- Each HUD Bar will need to be positioned independently.
-
Use the height and width controls to adjust the size and scale of the HUD Bars.

-
Disable the Adjustment Toggle when finished.
- If you reduced the Background Brightness, be sure to go back and set it to the desired value.
- The default is Background Brightness 100.
Configuring Layouts
Section titled “Configuring Layouts”You can further configure the HUD Bars to display only on specific devices by configuring your layout:
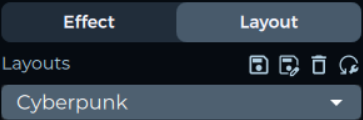
-
Go to the Layouts tab.
-
Position the target device (e.g., keyboard) in an isolated area.
-
Arrange other devices so they don’t overlap with the target device.
-
Position the HUD Bar over the target device. Now only the target device will display HUD Bars while other devices show standard effects.
Performance Optimization
Section titled “Performance Optimization”If you’re noticing SignalRGB is impacting your FPS in-game, you can reduce system resources used by integrations.
-
Go to Settings > Application > Video.
-
Adjust the slider on the Capture Framerate setting to control how often the screen is scanned.

You can also reduce resource usage by closing the SignalRGB window to the system tray. Clicking the X in the top-right corner minimizes SignalRGB to the tray rather than closing it — the app continues running in the background with significantly lower overhead than when the window is open.