创建插件
现在我们已经分离了 RGB 数据,可以开始创建插件了。
要开始创建插件,我们将打开一个文本编辑器并粘贴以下文本。
export function Name() { return ""; }export function VendorId() { return ; }export function ProductId() { return ; }export function Publisher() { return ""; }export function Documentation(){ return "troubleshooting/brand"; }export function Size() { return [1,1]; }export function ControllableParameters() {  return [    {"property":"shutdownColor", "group":"lighting", "label":"Shutdown Color", "min":"0", "max":"360", "type":"color", "default":"009bde"},    {"property":"LightingMode", "group":"lighting", "label":"Lighting Mode", "type":"combobox", "values":["Canvas", "Forced"], "default":"Canvas"},    {"property":"forcedColor", "group":"lighting", "label":"Forced Color", "min":"0", "max":"360", "type":"color", "default":"009bde"},  ];}
export function Initialize() {
}
var vLedNames = [ "Led 1" ];var vLedPositions = [ [0,0] ];
export function LedNames() {
}
export function LedPositions() {
}
export function Render() {
}
export function Shutdown() {
}
function hexToRgb(hex) {  let result = /^#?([a-f\d]{2})([a-f\d]{2})([a-f\d]{2})$/i.exec(hex);  let colors = [];  colors[0] = parseInt(result[1], 16);  colors[1] = parseInt(result[2], 16);  colors[2] = parseInt(result[3], 16);
  return colors;}
export function Validate(endpoint) {  return endpoint.interface === 0 && endpoint.usage === 0 && endpoint.usage_page === 0;}
export function ImageUrl() {  return "";}
以上文本是设备插件的基本布局。
我们将从用设备信息填写插件顶部的字段开始。
我们可以在名称字段中填写设备的名称。
查找供应商 ID 和产品 ID
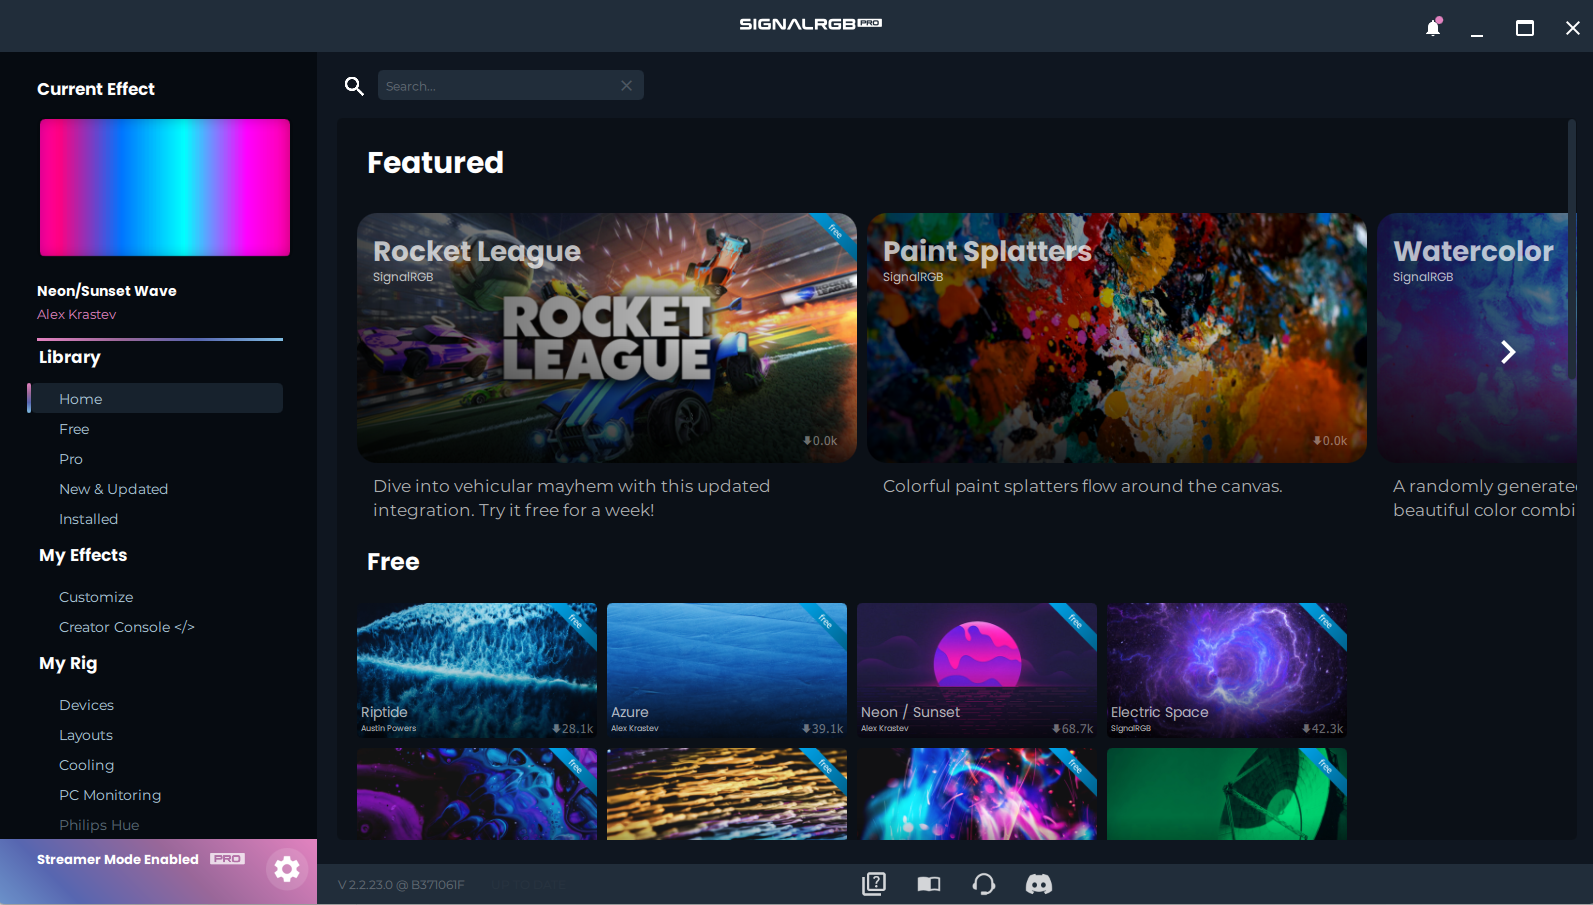
Section titled “查找供应商 ID 和产品 ID”要找到供应商 ID 和产品 ID,我们需要首先通过左下角的齿轮图标打开 SignalRGB 的设置菜单。
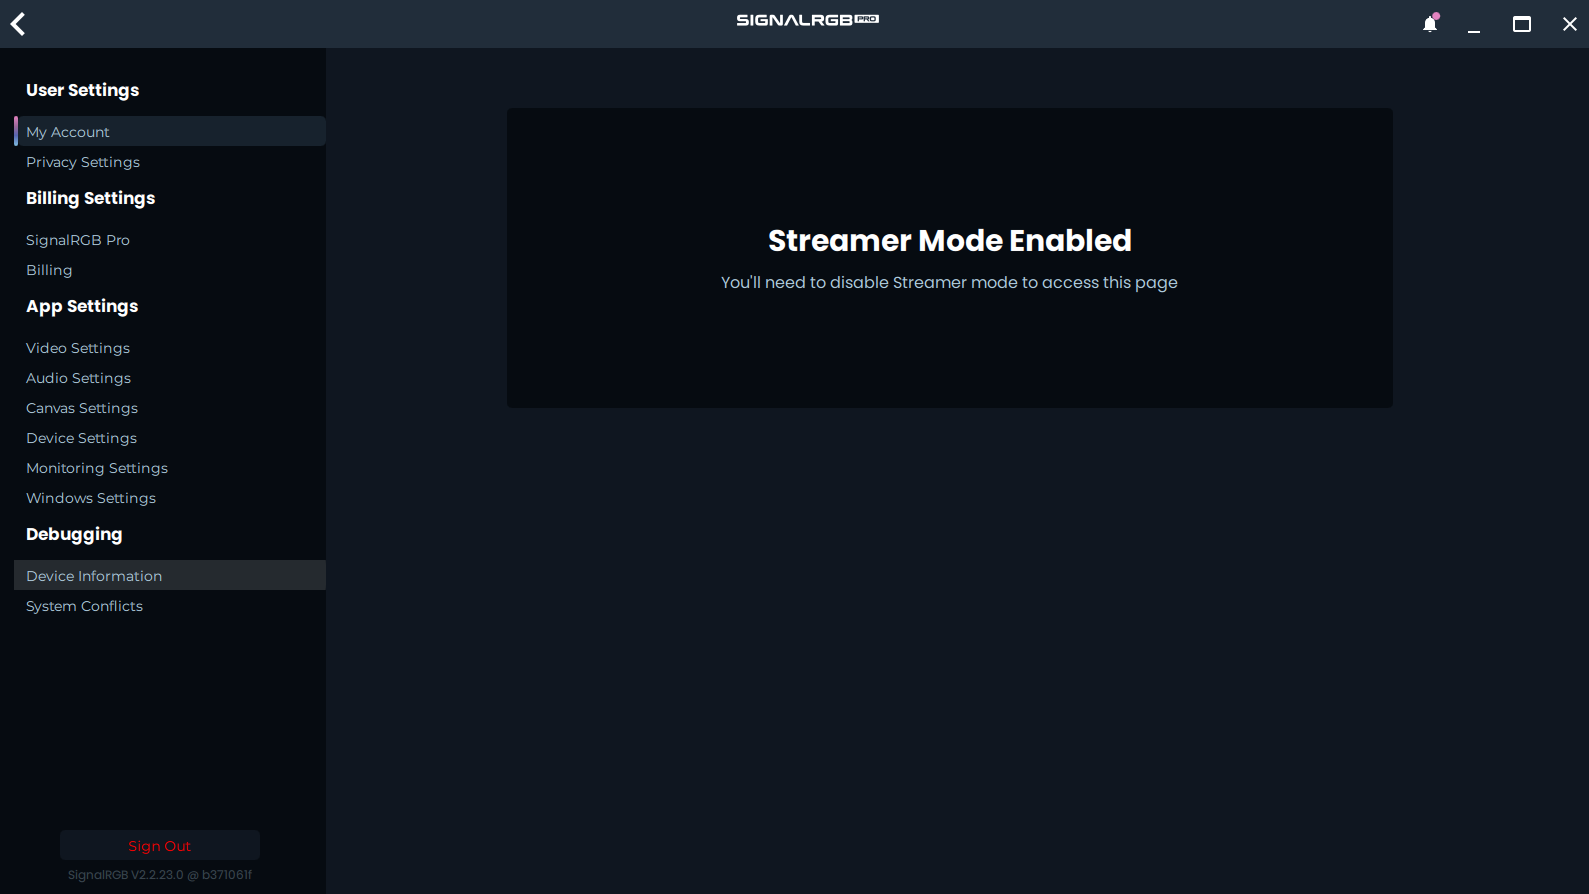
现在,我们需要转到设备信息页面。
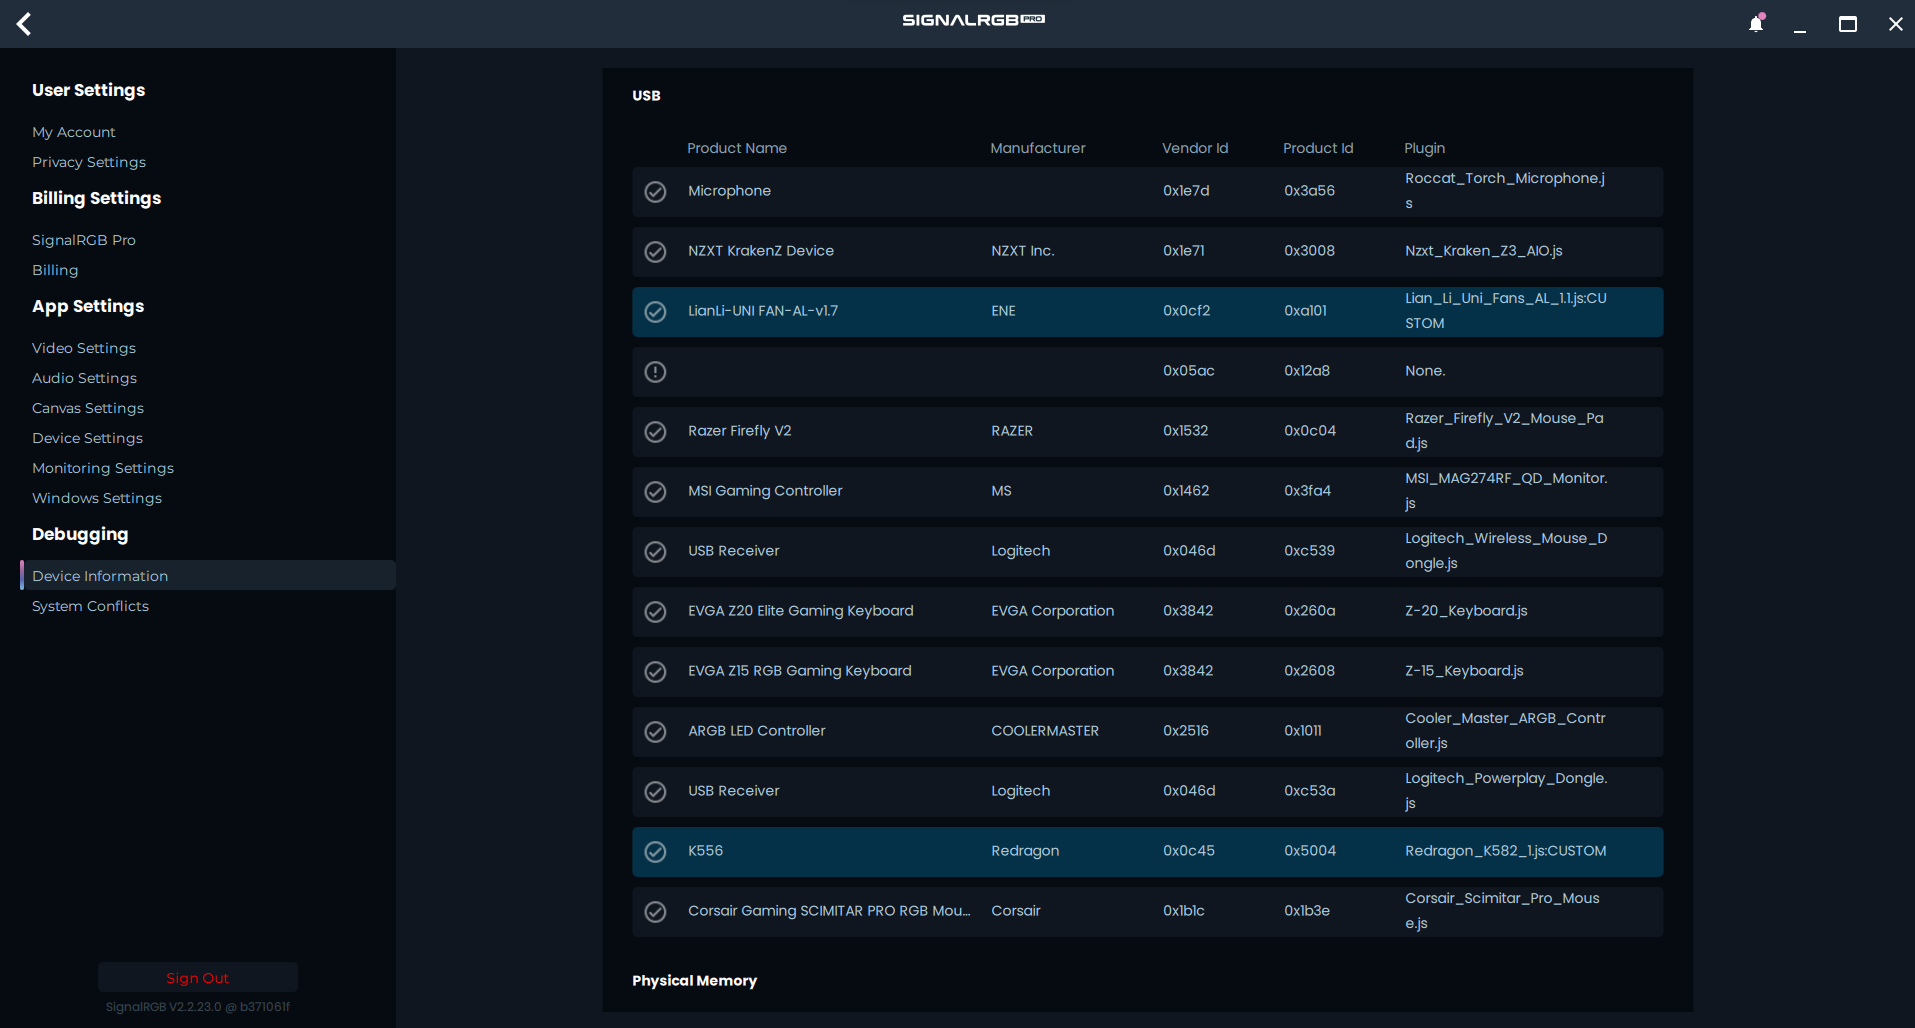
我们正在寻找我们正在实现的设备的 VendorID 和 ProductID。在本例中,这是 Corsair Scimitar Pro。Scimitar 的供应商 ID 是 0x1b1c,产品 ID 是 0x1b3e。
现在我们有了供应商和产品 ID,可以在插件中填写这些字段。
要填写发布者字段,您可以填写您的名字!
现在,我们暂时填写了所有能填写的字段。
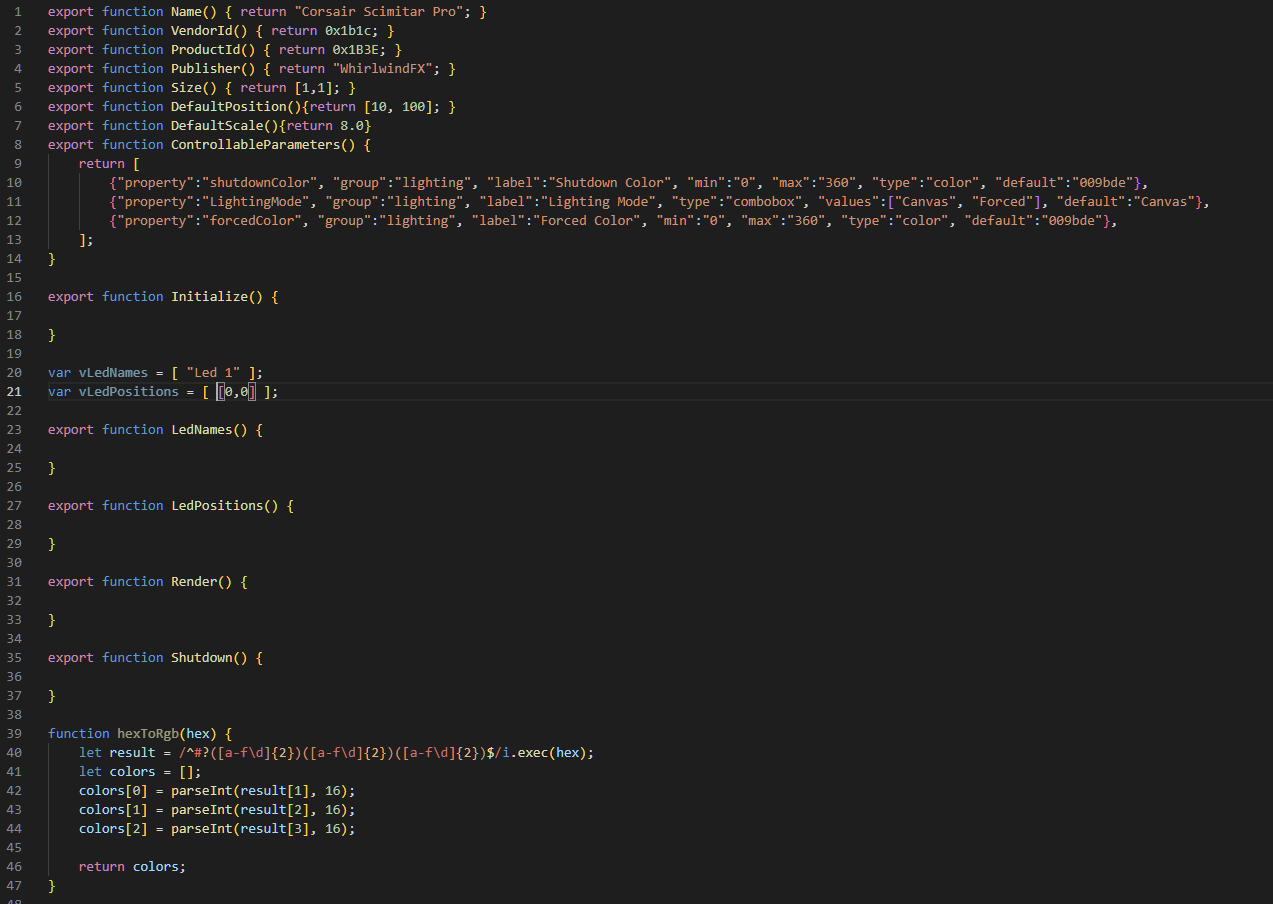
以下是填写了字段的 Scimitar Pro 示例。
创建 RGB 数据包
Section titled “创建 RGB 数据包”接下来,我们需要创建一个向设备发送颜色数据的函数。我们将从创建如下简单函数开始:
function sendColors(shutdown = false){ let packet = [];}接下来,我们需要开始用一些数据填充数据包,这将通过使用我们标记的 RGB 数据包之一的数据来完成。
- 注意:此设备使用零填充。这意味着我们需要将所有字节向上移动 1 个位置。了解零填充相关内容。

function sendColors(shutdown = false){  let packet = [];  packet[0] = 0x00;  packet[1] = 0x07;  packet[2] = 0x22;  packet[3] = 0x05;  packet[4] = 0x01;
}
我们开始填写数据包的标头数据,如上所示。我们在位置 4 处停止,因为位置 5 是我们 RGB 相关数据的第一个字节。
确定数据包类型
Section titled “确定数据包类型”接下来,我们需要创建颜色填充系统。有几种不同的方法可以做到这一点。使用哪种方法取决于设备的数据包结构。以下是一些不同的颜色数据包示例:
function sendZone(zone, shutdown = false){    let packet = [];    packet[0] = LongMessage;    packet[1] = ConnectionMode;    packet[2] = RGBFeatureID;    packet[3] = 0x30;    packet[4] = zone;    packet[5] = 0x01;
    var iX = vLedPositions[zone][0];    var iY = vLedPositions[zone][1];    var color;    if(shutdown)    {      color = hexToRgb(shutdownColor);    }    else if (LightingMode == "Forced")    {      color = hexToRgb(forcedColor);    }    else    {      color = device.color(iX, iY);    }    packet[6] = color[0];    packet[7] = color[1];    packet[8] = color[2];    packet[9] = 0x02;
  device.write(packet, 120);}
function SendPacket(shutdown = false){  let packet = [];  packet[0] = 0x00;  packet[1] = 0x00;  packet[2] = 0x1F;  packet[3] = 0x00;  packet[4] = 0x00;  packet[5] = 0x00;  packet[6] = 0x41;  packet[7] = 0x0F;  packet[8] = 0x03;  packet[13] = 0x13;

  for(let iIdx = 0; iIdx < vLedPositions.length; iIdx++)  {
    let iPxX = vLedPositions[iIdx][0];    let iPxY = vLedPositions[iIdx][1];    var color;
    if(shutdown)    {      color = hexToRgb(shutdownColor);    }    else if (LightingMode === "Forced")    {      color = hexToRgb(forcedColor);    }    else    {      color = device.color(iPxX, iPxY);    }
    let iLedIdx = (iIdx*3) + 14;    packet[iLedIdx] = color[0];    packet[iLedIdx+1] = color[1];    packet[iLedIdx+2] = color[2];  }  device.write(packet, 120);}
function sendColors(shutdown = false){
  let packet = [];  packet[0x00]   = 0x00;  packet[0x01]   = 0x08;  packet[0x02]   = 0x12;  packet[0x03]   = 0x05;  packet[0x04]   = 0x01;
  let zoneId = [1, 2, 3, 4, 5];

  for(let zone_idx = 0; zone_idx < vLedPositions.length; zone_idx++) {    let iX = vLedPositions[zone_idx][0];    let iY = vLedPositions[zone_idx][1];    var col;
    if(shutdown){      col = hexToRgb(shutdownColor);    }else if (LightingMode === "Forced") {      col = hexToRgb(forcedColor);    }else{      col = device.color(iX, iY);    }
    packet[(zone_idx * 4) + 2] = zoneId[zone_idx];    packet[(zone_idx * 4) + 3] = col[0];    packet[(zone_idx * 4) + 4] = col[1];    packet[(zone_idx * 4) + 5] = col[2];  }
  device.write(packet, 120);}
以上三个示例各适用于不同的数据包结构。sendZone 函数适用于每个 LED 使用独立数据包的设备。sendPacket 函数更适用于在单个数据包中连续发送多个 LED 的设备。sendColors 函数适用于数据包中有多个 LED 但它们不是直接相邻的设备。在我们的例子中,我们将使用 sendColors 函数。
function sendColors(shutdown = false){ let packet = [];
packet[0] = 0x00; packet[1] = 0x07; packet[2] = 0x22; packet[3] = 0x05; packet[4] = 0x01;
let zoneId = [2, 4, 5, 1, 3];
for(let zone_idx = 0; zone_idx < vLedPositions.length; zone_idx++) { let iX = vLedPositions[zone_idx][0]; let iY = vLedPositions[zone_idx][1]; var col;
if(shutdown){ col = hexToRgb(shutdownColor); }else if (LightingMode === "Forced") { col = hexToRgb(forcedColor); }else{ col = device.color(iX, iY); }
packet[(zone_idx * 1) + 2] = zoneId[zone_idx]; packet[(zone_idx * 1) + 3] = col[0]; packet[(zone_idx * 1) + 4] = col[1]; packet[(zone_idx * 1) + 5] = col[2]; }
packet[21] = 0xff; packet[22] = 0xff; packet[23] = 0xff;
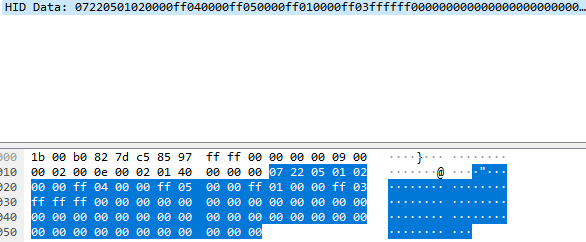
device.write(packet, 120);}要正确设置 sendColors 函数,我们需要找出设备的区域 ID。再次查看数据包捕获,我们看到区域顺序似乎是 2, 4, 5, 1, 3,如下所示。注意我们添加了第 5 个区域,因为看起来我们也可以寻址 DPI LED。
现在我们找出了区域 ID,我们需要找出 zone_idx 的偏移量。我们的第一个区域在 packet[4],第二个在 packet[8]。这意味着我们的 zone_idx 每次需要乘以 4 才能到达新的 LED。我们还需要找出 RGB 数据的位移量。由于我们的第一个区域在 packet[5],我们只需要将数据包偏移 5 个字节,如下所示。
function sendColors(shutdown = false){ let packet = []; packet[0] = 0x00; packet[1] = 0x07; packet[2] = 0x22; packet[3] = 0x05; packet[4] = 0x01;
let zoneId = [2, 4, 5, 1, 3];
for(let zone_idx = 0; zone_idx < vLedPositions.length; zone_idx++) { let iX = vLedPositions[zone_idx][0]; let iY = vLedPositions[zone_idx][1]; var col;
if(shutdown){ col = hexToRgb(shutdownColor); }else if (LightingMode === "Forced") { col = hexToRgb(forcedColor); }else{ col = device.color(iX, iY); }
packet[(zone_idx * 4) + 5] = zoneId[zone_idx]; packet[(zone_idx * 4) + 6] = col[0]; packet[(zone_idx * 4) + 7] = col[1]; packet[(zone_idx * 4) + 8] = col[2]; }
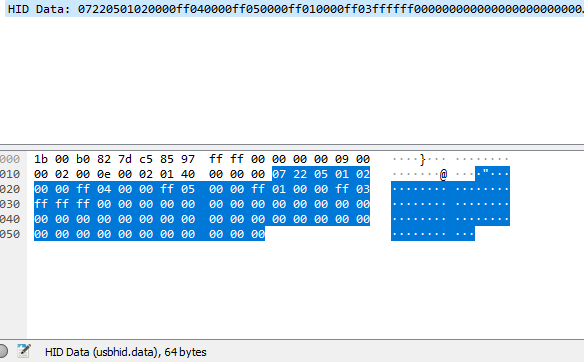
device.write(packet, 120);}现在我们将数据包中需要的所有内容都添加完毕,需要找出数据包长度。要找到数据包长度,我们只需查看 Wireshark 中的数据有多长。查看我们的示例,我们可以看到数据在本例中是 64 字节长。
- 注意:此设备使用零填充,这意味着我们需要使写入长度比 Wireshark 捕获中的长度多一。
现在我们知道了数据的长度,只需将 device.write 长度设置为 65 字节,如下所示。
function sendColors(shutdown = false){  let packet = [];  packet[0] = 0x00;  packet[1] = 0x07;  packet[2] = 0x22;  packet[3] = 0x05;  packet[4] = 0x01;
let zoneId = [2, 4, 5, 1, 3];

  for(let zone_idx = 0; zone_idx < vLedPositions.length; zone_idx++) {    let iX = vLedPositions[zone_idx][0];    let iY = vLedPositions[zone_idx][1];    var col;
    if(shutdown){      col = hexToRgb(shutdownColor);    }else if (LightingMode === "Forced") {      col = hexToRgb(forcedColor);    }else{      col = device.color(iX, iY);    }
    packet[(zone_idx * 4) + 5] = zoneId[zone_idx];    packet[(zone_idx * 4) + 6] = col[0];    packet[(zone_idx * 4) + 7] = col[1];    packet[(zone_idx * 4) + 8] = col[2];  }
  device.write(packet, 65);}
现在我们设置了 RGB 数据包,需要设置 LED 并选择设备端点。
基本 LED 设置
Section titled “基本 LED 设置”要设置 LED,我们需要在 vLedNames 和 vLedPositions 中添加正确数量的 LED。在我们的例子中,我们需要向每个数组再添加四个 LED,如下所示。
var vLedNames = [ "Led 1", "Led 2", "Led 3", "Led 4", "Led 5" ];var vLedPositions = [ [0,0], [1,0], [2,0], [3,0], [4,0] ];我们现在给这四个 LED 提供基本映射,因为我们还不知道这些 LED 在 SignalRGB 内部映射中的物理位置。
现在我们已经映射了 LED,需要设置设备尺寸。设备尺寸在两个方向上都需要比最远的 LED 大一。在我的例子中,尺寸需要是 [5,1],因为我们最远的 LED 在 [4,0]。
export function Name() { return "Corsair Scimitar Pro"; }export function VendorId() { return 0x1b1c; }export function ProductId() { return 0x1B3E; }export function Publisher() { return "WhirlwindFX"; }export function Documentation(){ return "troubleshooting/corsair"; }export function Size() { return [5,1]; }接下来我们需要找出设备的端点。