This tutorial will show you how to convert SignalRGB plugins made for ANSI keyboards to work with other keyboard layouts.
The first thing we need to do is understand the difference between ANSI and International keyboard layouts.
Identifying Problem Keys
Looking at the image below you can see many differences between the key legends on the ANSI board and the German board. Looking at the LEDs though we see that only two of the LEDs are not lit up on the German board compared to the ANSI one.

This means that in our case, we only have to map two additional LEDs. We also need to pay attention to where our unmapped LEDs are.
Now that we understand what LEDs are missing or are improperly mapped, we need to fix those misplaced LEDs.
Finding Your Keyboard's Plugin
First, open SignalRGB, then go into the devices tab. Navigate to your keyboard, click on the cog icon, toggle "show console" on, the plugin filename (usually brand_model.js) is located to the left of the "Force Reload Plugin" button.
Browse this path in your file explorer:
%localappdata%\VortxEngine\app-<current version>\Signal-x64\Plugins
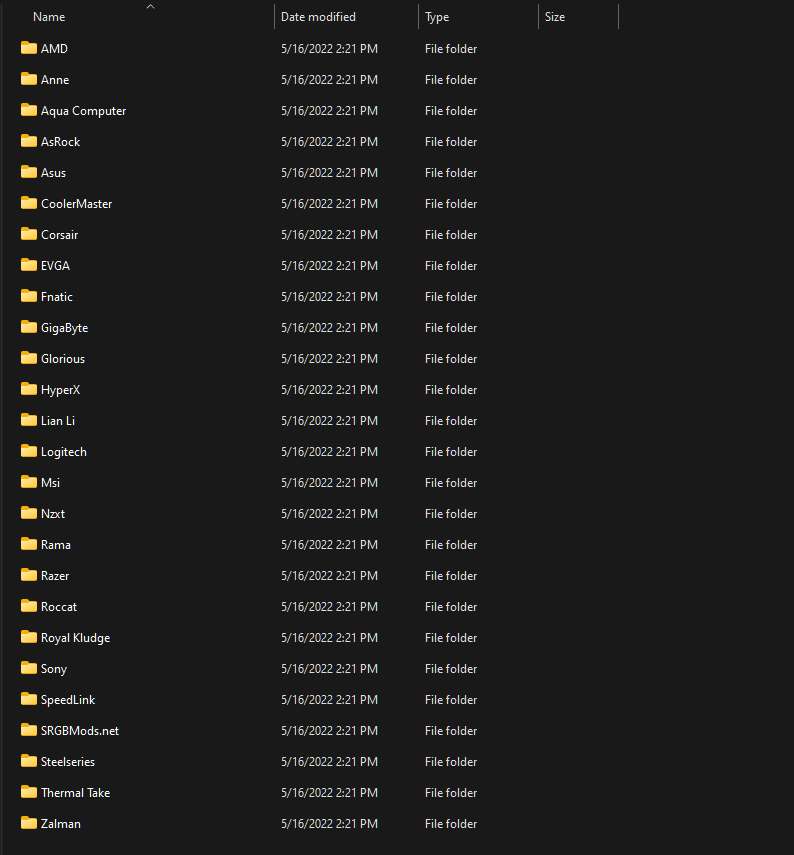
It should take you to this location:

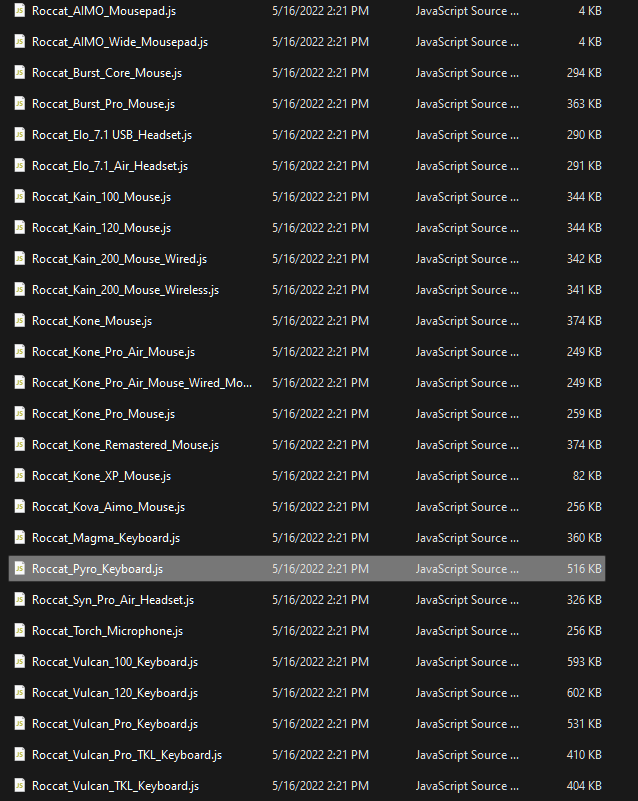
Now, navigate into the folder for your device brand, and then find the plugin that your device is using. In our case, we need to find the Roccat Pyro Keyboard plugin.

Copy the plugin file, and paste it into Documents/WhirlwindFX/plugins.

Now, close and reopen SignalRGB. This is done so that any changes made to your keyboard plugin will take effect immediately.
Modifying the Keyboard Plugin
Next, we need to open our Keyboard plugin in a text editor. You will be greeted with a screen similar to the one below.

The three properties that we care about are vKeys, vKeyPositions, and vKeyNames.
- vKeys tells SignalRGB what position each key corresponds to within an RGB Color packet. The system used to signify what position each key corresponds to is different between brands and even products within each brand.
- vKeyPositions tells SignalRGB where each key is inside of the rectangle that represents the keyboard on the effect canvas.
- vKeyNames tells SignalRGB what each key is named in the key painting panel.
Note: All 3 of these must be adjusted together for SignalRGB to function properly.
Also of note: if your device is missing a vKeys array, join this discord server for help.
Going back to our text editor, the first property that we are going to change is the vKeyNames. Looking at our physical keyboard, we see that we need to add one key right before the enter key, and we also need to add one more key directly after our left shift key as shown below.

Now we need to add our two new keys to our vKeyPositions array.
Looking at our vKeyPositions arrayand our vKeyNames array, we need to find where to put our two new keys. To do this, we are going to find the two keys that we used as references for our vKeyNames array. Looking at our Enter key, it is at position [13,4]. Position [12,4] is empty, so we are going to put a position there for our ISO_# key. Our ISO_< key is a bit more complicated. If we look at our left shift key, there are no free slots until [11,5]. We are going to put a position there, as we are effectively just shifting all of our keys down one position.

Finally, we need to add our two keys to our vKeys array. We need to use our positions from the vKeyPositions array to place our keys properly. The question is what do we set our key ID's at these positions to? In most cases, we do not know what these positions need to be set to. To find the correct positions in the array for our keys, we will simply use trial and error. We will know when we have the correct key ID's as our keys will light up. In our case, the correct key numbers were 12 and 75.

Now that we have our keys properly mapped, our plugin is complete! If you want your keyboard layout to be officially included in SignalRGB, send your modified plugin file to [email protected].