We are not responsible for bricking keyboards and this information is provided for advanced users who assume all risk involved with firmware flashing their devices.
This will override any custom keymaps you have made!
If you want to make any changes to a Keyboard's keymap or add support for new keyboards to the SignalRGB QMK Protocol, you will need to build it from source.
Steps to build from source:
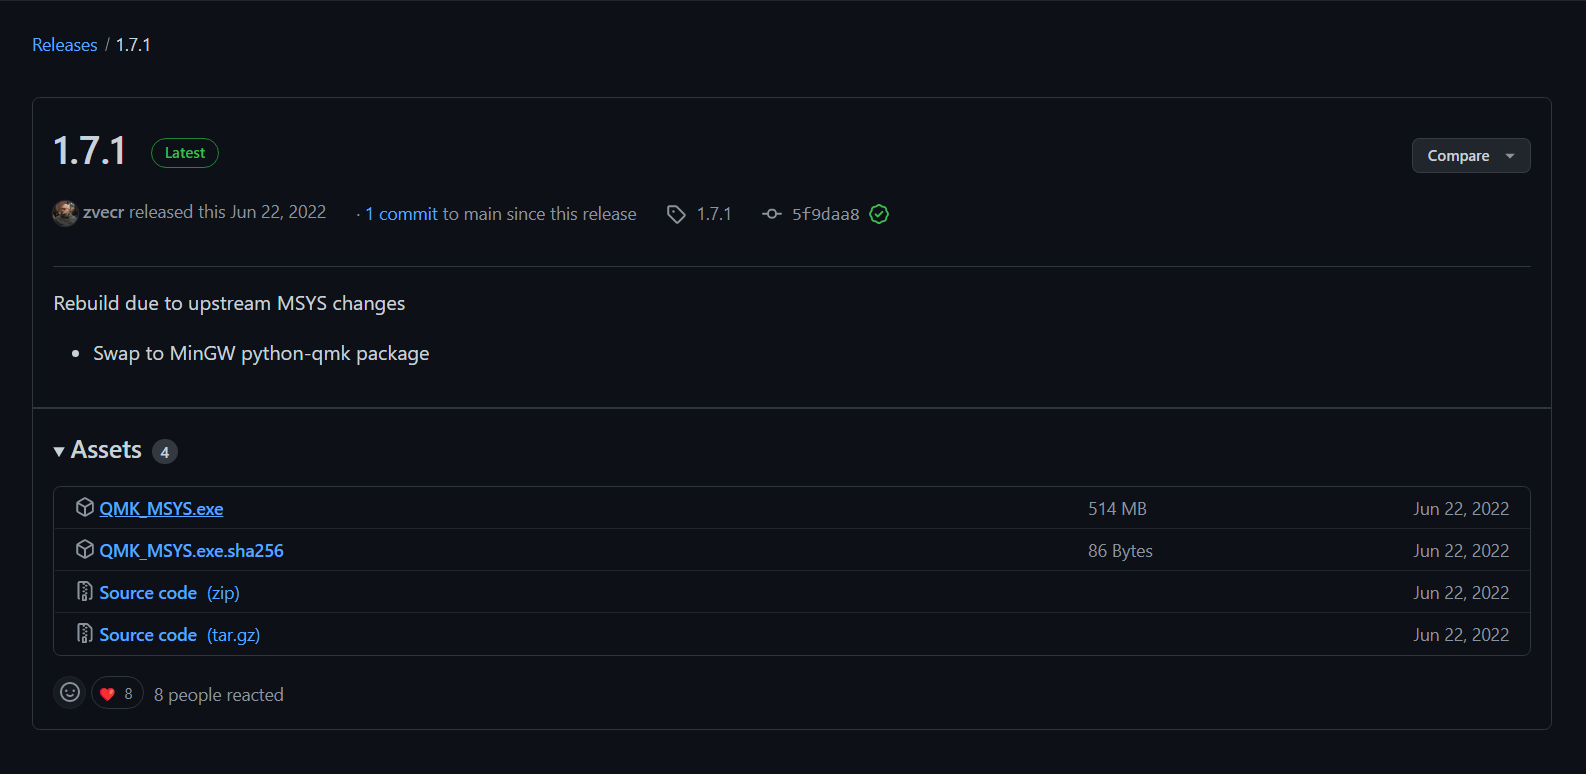
- Download QMK MSYS from here and install it.
Open QMK MSYS and perform a git clone of your needed QMK fork / source. (This could be QMK Mainline _or SonixQMK).
You will then want to add the SignalRGB Protocol submodule to the fork source you are building against:
// cd to your source fork you will be compiling against in the terminal (QMK_MSYS, bash, etc)git submodule add https://github.com/SRGBmods/QMK_Community_Module modules/signalrgbgit submodule update --init --recursive- Paste the above two commands into the (QMK_MSYS, bash, etc) terminal window.
- You will need to add a keymap.json with the following contents in your specific keyboard brand directory:
{ "modules": [ "signalrgb" ]}NOTE: REPLACE KEYBOARD BRAND WITH YOUR KEYBOARD BRAND, MODEL WITH THE KEYBOARD MODEL, AND REPLACE KM WITH THE KEYMAP TYPE (default / via / keychron / etc).
KEYMAP TYPES:
- default: This is the keymap you will use if you aren't compiling for VIA
- via: This is the keymap you use if you are compiling for VIA (You should try this first -you can find your via keymap here)

- If the firmware fails to compile, join the discord and ask for help in the QMK channels.
Now that you have compiled your firmware, you will need to flash it to your keyboard.
- You will need to find flashing instructions for your keyboard online, as flashing instructions differ between keyboards.
- After flashing your keyboard, you need to modify the keyboard plugin below to get SignalRGB working with your keyboard.
Folder with QMK plugins examples
- After downloading the keyboard plugin above, open it in a text editor.
export function Name() { return "QMK Keyboard"; }export function Version() { return "X.X.X"; }export function VendorId() { return 0x0000; }export function ProductId() { return 0x0000; }export function Publisher() { return "WhirlwindFX"; }export function Size() { return [14, 5]; }export function DefaultPosition(){return [10, 100]; }export function DefaultScale(){return 8.0;}/* globalshutdownColor:readonlyLightingMode:readonlyforcedColor:readonly*/export function ControllableParameters(){ return [ {"property":"shutdownColor", "group":"lighting", "label":"Shutdown Color", "min":"0", "max":"360", "type":"color", "default":"009bde"}, {"property":"LightingMode", "group":"lighting", "label":"Lighting Mode", "type":"combobox", "values":["Canvas", "Forced"], "default":"Canvas"}, {"property":"forcedColor", "group":"lighting", "label":"Forced Color", "min":"0", "max":"360", "type":"color", "default":"009bde"}, ];}- After opening the keyboard plugin, you will be presented with a screen similar to the one above.
- You will need to fill in some of these fields, starting with the Name field.
- The name field needs to be filled in with the name of the keyboard that you developed firmware for.
export function Name() { return "Massdrop CTRL QMK Keyboard"; }- Next, we need to fill in the VendorId for the keyboard.
- To find the VendorId for the keyboard, open SignalRGB.
- Then click the settings cog in the bottom left corner.

Then, click on Device Information.
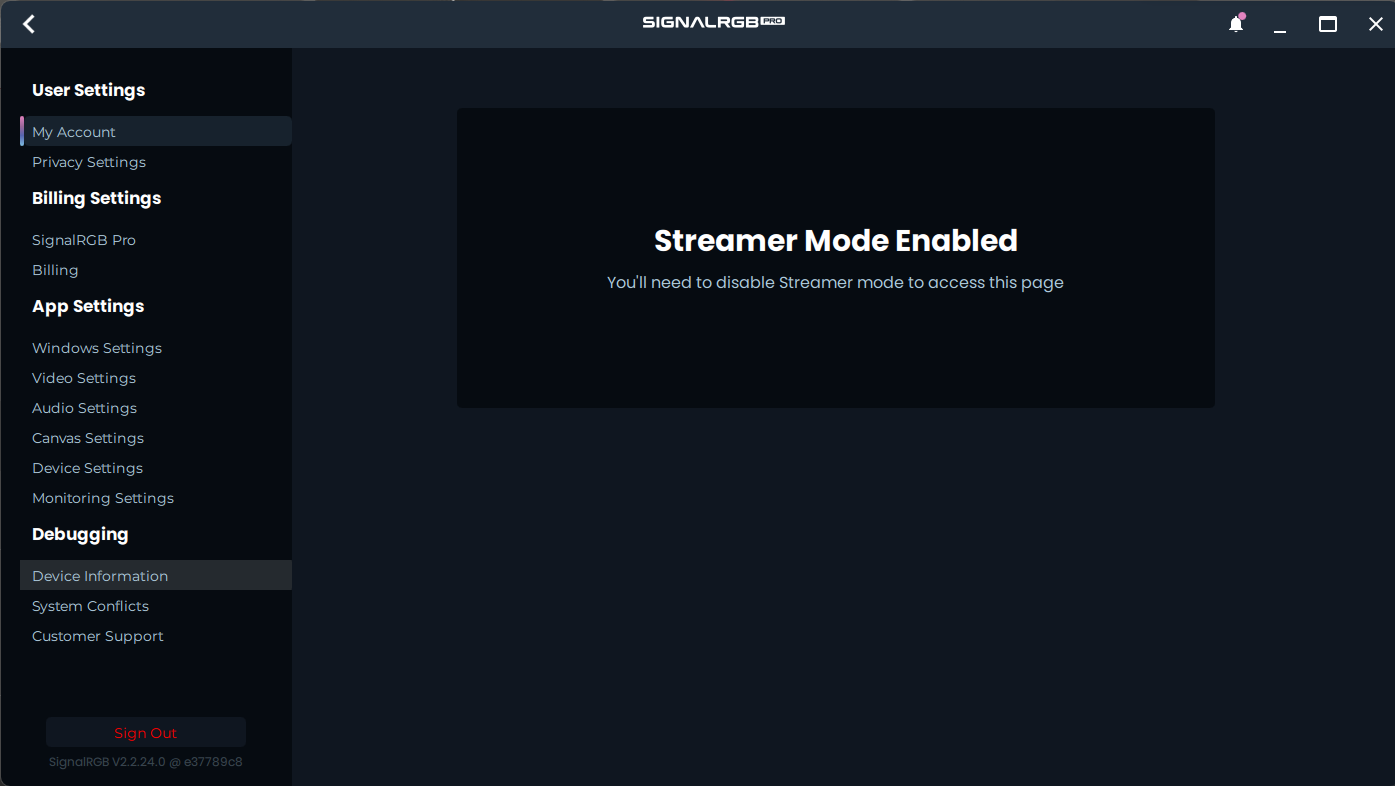
Then find your keyboard and note down its VendorID and ProductID.


Now fill the VendorId and ProductId fields with these values.
export function Name() { return "Massdrop CTRL QMK Keyboard"; }export function VendorId() { return 0x04d8; }export function ProductId() { return 0xEED2; }- The next field that needs to be filled in is the Publisher field. In the publisher field, you can put your name, username or handle.
export function Name() { return "Massdrop CTRL QMK Keyboard"; }export function VendorId() { return 0x04d8; }export function ProductId() { return 0xEED2; }export function Publisher() { return "WhirlwindFX"; }- Now, we are done filling in fields, and are moving onto arrays.
There are 3 arrays that need modified: vKeys, vKeynames, and vKeyPositions
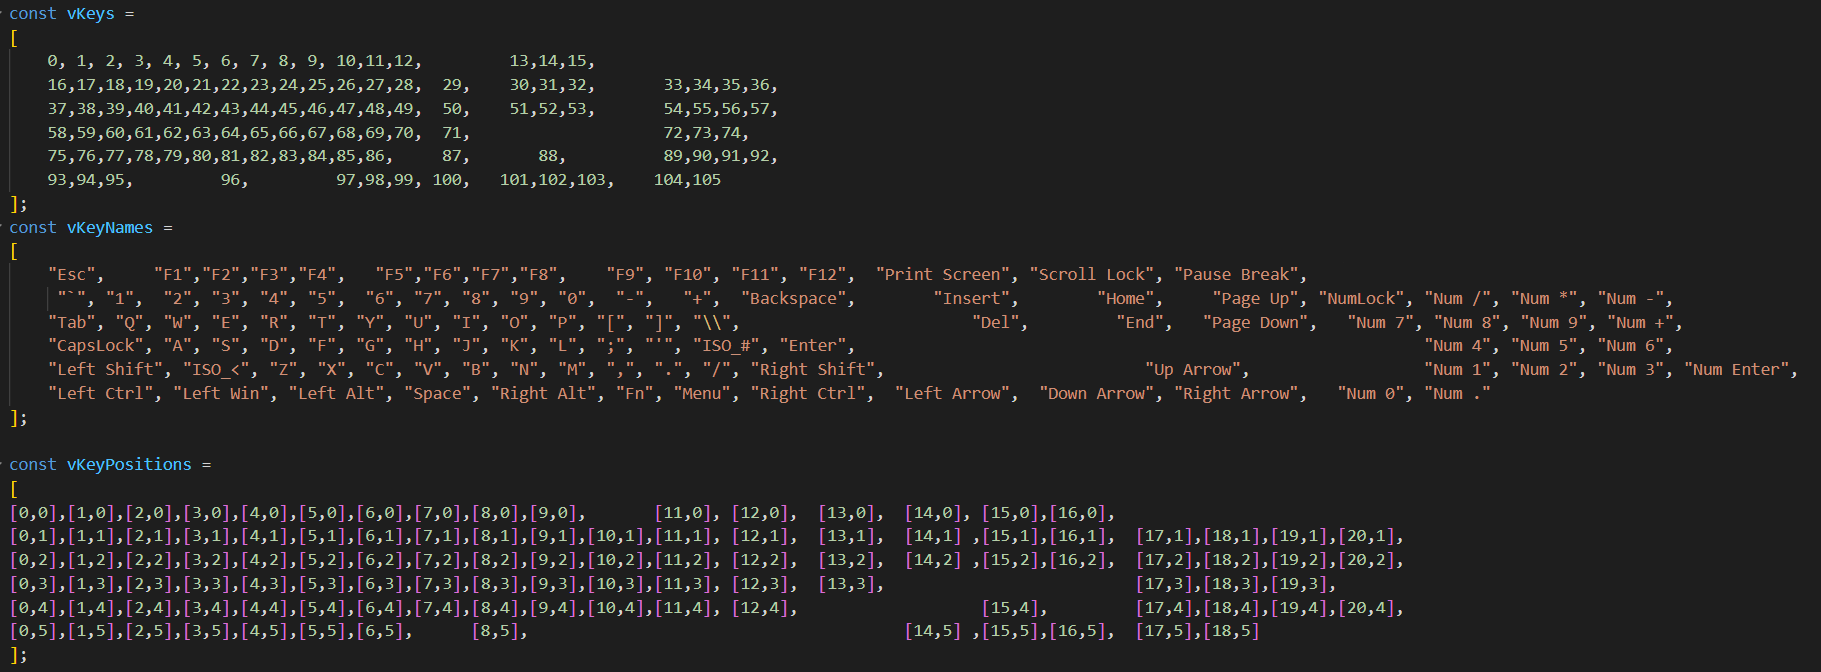
- The vKeys array maps each keyboard key to its position within the RGBData being sent to the keyboard.
- The vKeyNames array tells us which key corresponds to each vKey and vKeyPosition.
- The vKeyPositions array tells SignalRGB where each key on the keyboard is position-wise.
- First, change the vKeyNames array to reflect your keyboard.
- This means that you need to rearrange the vKeyNames so that they match your keyboard.
- In our case, we had to remove keys and reorganize the remaining ones as our board is a TKL board.

Then update the vKeyPositions array the same way that the vKeyNames array was updated.

Finally, update the vKeys array so that it matches the vKeyNames and vKeysPositions arrays.

- Now, save your plugin file into %userprofile%/Documents/WhirlwindFX/plugins, then restart Signal.
- Your keyboard should start to light up and react with SignalRGB.
If the Keyboard Does Not Light up or Does Not React Properly to SignalRGB:
- Go to the Devices page in SignalRGB.
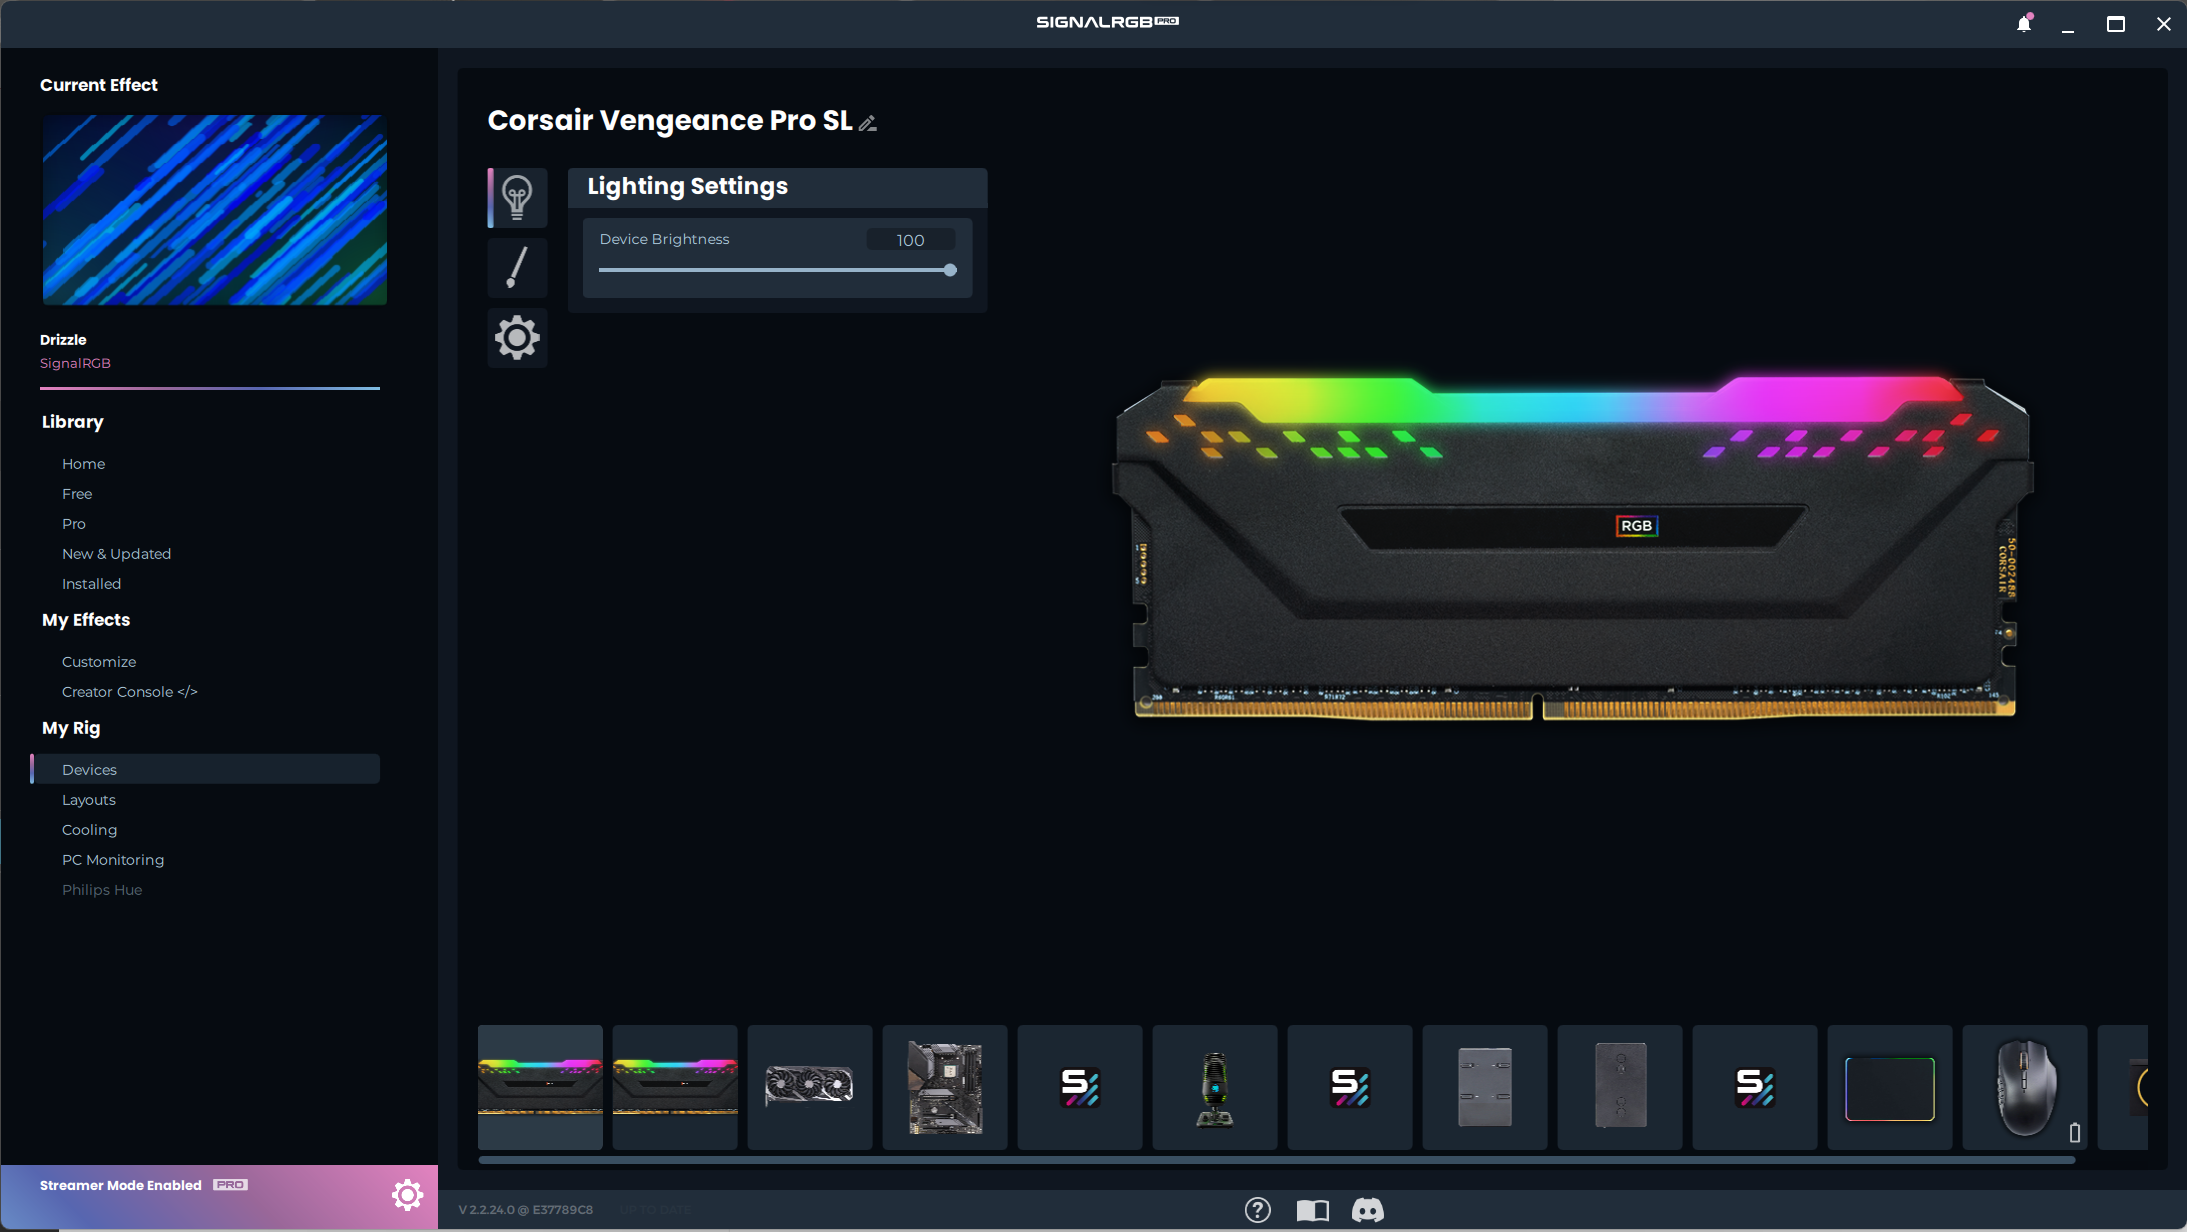
- Next, go to your keyboard, and then click on the settings cog.
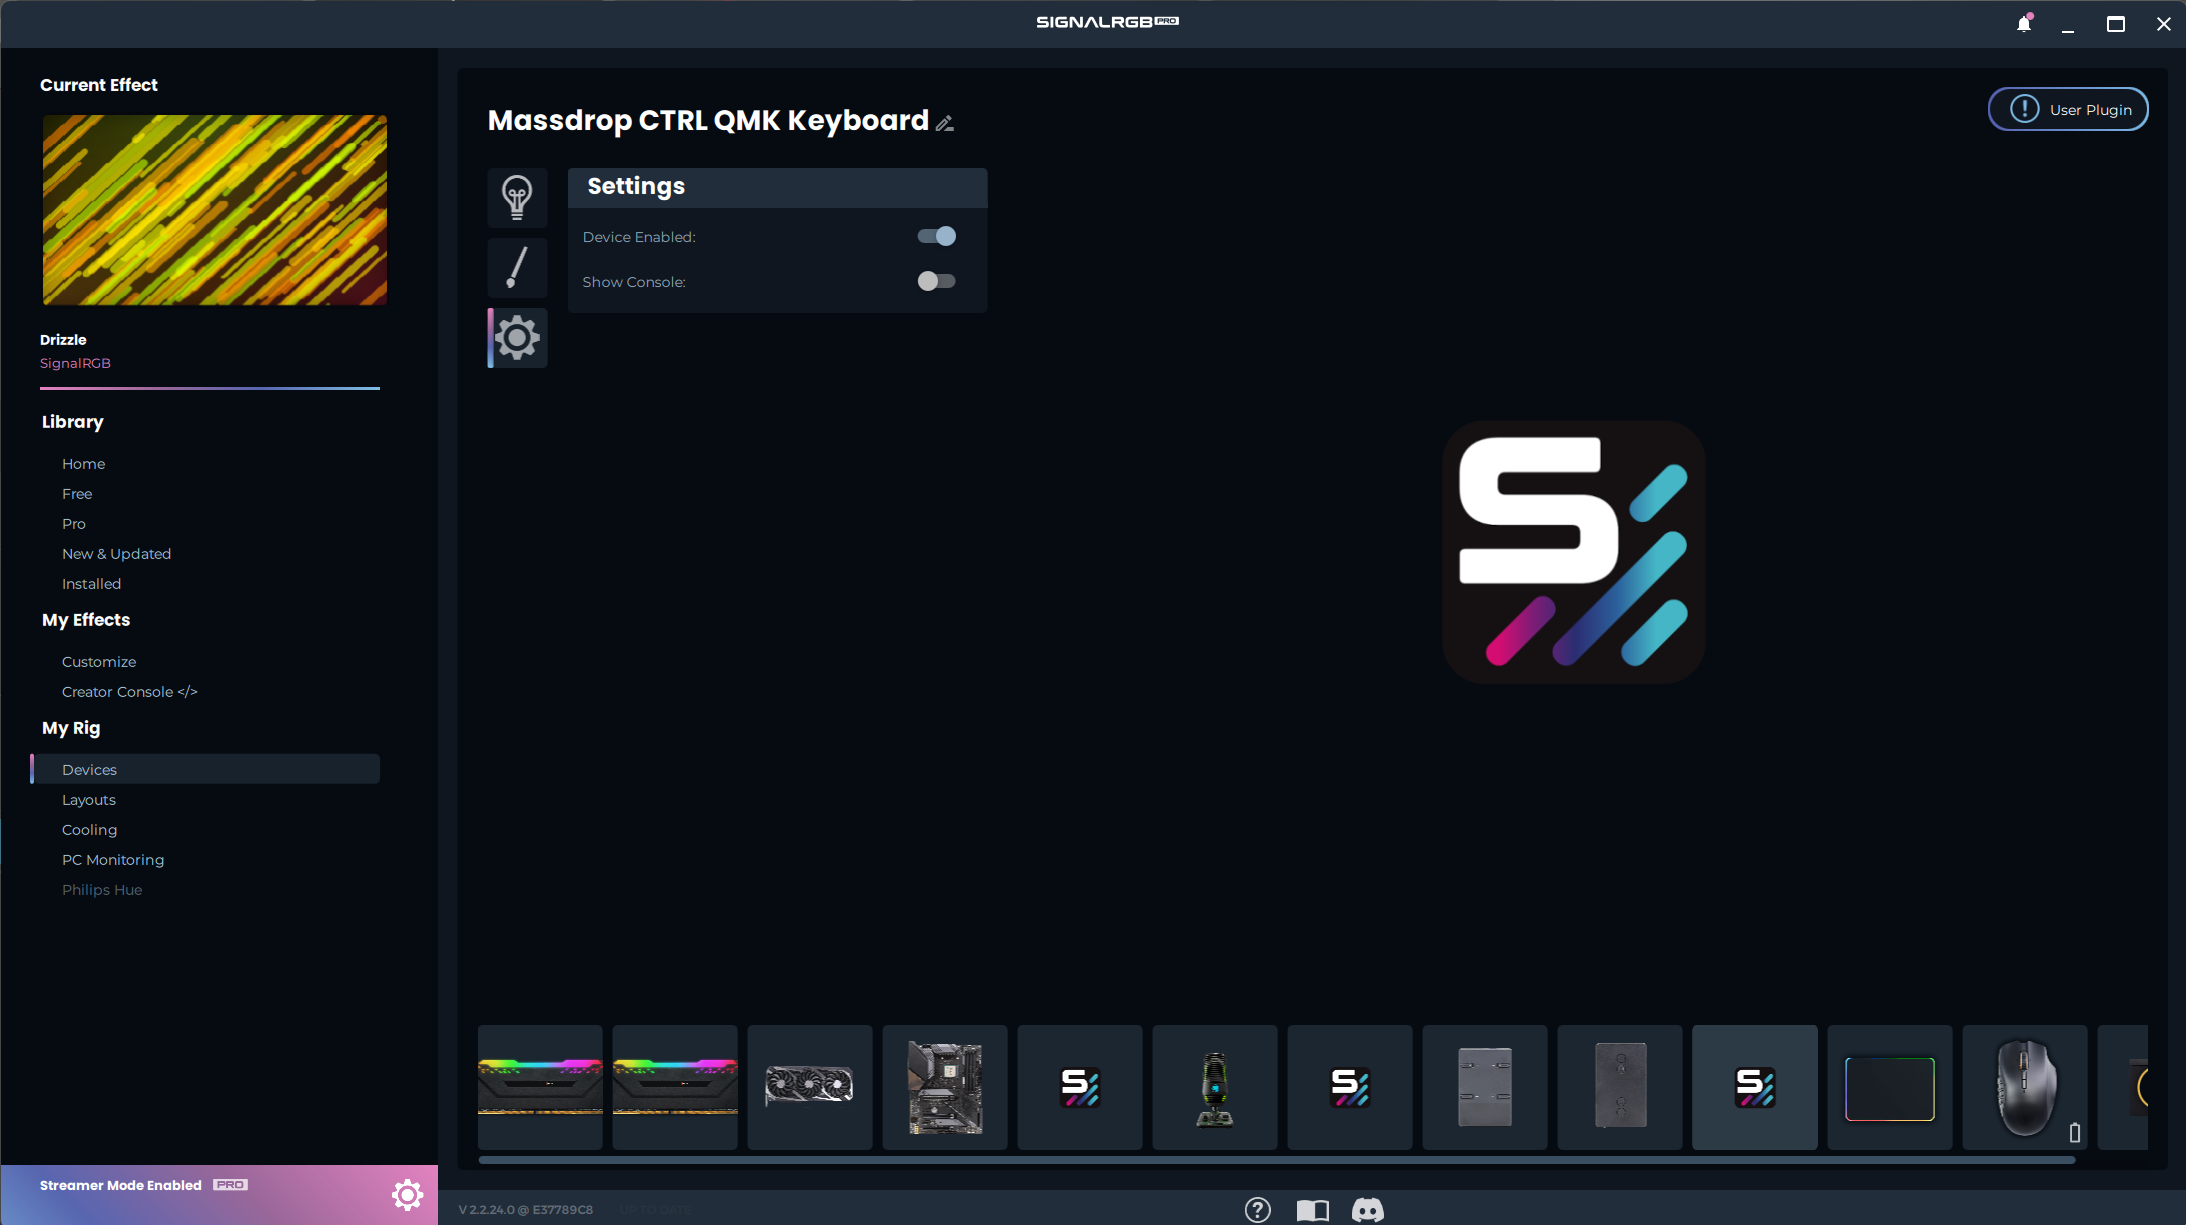
- Then, click the Show Console toggle.

- There should be a Device Total LED Count in the console. Compare that Device Total LED Count to the number of LEDs that you have assigned.
- In our case, there are 119 Total LEDs.
If the Number of LEDs Does Match the Number of vKeys you Have:
- Ensure that the size field of your plugin is 1 larger in each direction than your highest LED Coordinate:
- In our case, the furthest out LED is at position [17,6], therefore our Size field needs to be [18,7].
export function Size() { return [18, 7]; }If the Number of LEDs does not Match the Number of Vkeys you have:
- You will need to add vKeys, vKeyPositions, and vKeyNames to match the number of Total LEDs.
- In our case, the device had 119 LEDs, so we needed to add 32 LEDS for the keyboard's underglow.


- If the number of vKeys matches the number of Total LEDs and the device is sized properly, but the LEDs are improperly mapped:
- Join the discord and ask for help in the QMK channels.
How to fix your Indicator LEDs, (CAPSLOCK, NUMLOCK, SCROLL-LOCK) blinks when SignalRGB and the key are active.
This is a bit involved as it requires foreknowledge of the Index values for your indicators (CAPS, NUM, SCROLL) in advance. (This can usually be found in the device subtype ansi/iso or directly <keyboard_name.c> look for g_led_config and map the index visually to the key it would represent, or once you have your SignalRGB plugin working you can get the ID from there and recompile with this modification!)
Image below shows the index of a Keychron Q6 so 61 would be caps lock, 14 would be scroll lock, and 37 would be num lock when reviewing the ansi_encoder.c file not that easy to visually map so doing a combination of this file & plugin vKeys will be helpful!:

Once you know the above value(s) a slight modification is required to either signalrgb.c or via.c depending upon your firmware build. Replace the CAPSLOCK_LED_INDEX_,_ NUM___LOCK_LED_INDEX, or SCROLL_LOCK_LED_INDEX with the index values for your keyboard.
So if CAPS_LOCK Index is 61 this line:
if ((index + i) == CAPS_LOCK_LED_INDEX && host_keyboard_led_state().caps_lock) {Becomes this line:
if ((index + i) == 61 && hostkeyboard led_state().caps_lock) {Full Code example follows (This replaces this specific function entirely "led_streaming"):
void led_streaming(uint8_t *data) //Stream data from HID Packets to Keyboard.{ uint8_t index = data[1]; uint8_t numberofleds = data[2]; if(numberofleds >= 10) { packet[1] = DEVICE_ERROR_LEDS; raw_hid_send(packet,32); return; } for (uint8_t i = 0; i < numberofleds; i++) { uint8_t offset = (i * 3) + 3; uint8_t r = data[offset]; uint8_t g = data[offset + 1]; uint8_t b = data[offset + 2]; /* ONLY USE ONE OF THESE */ /* Remove the // from the beginning of the line you wish to use and update the INDEX accordingly */ /* This is for all three CAPS, NUM, and SCROLL LOCKS */ // if ( ((index + i) == CAPS_LOCK_LED_INDEX && host_keyboard_led_state().caps_lock) || ((index + i) == NUM_LOCK_LED_INDEX && host_keyboard_led_state().num_lock) || ((index + i) == SCROLL_LOCK_LED_INDEX && host_keyboard_led_state().scroll_lock)) { /* This is for CAPS and NUM LOCK */ // if ( ((index + i) == CAPS_LOCK_LED_INDEX && host_keyboard_led_state().caps_lock) || ((index + i) == NUM_LOCK_LED_INDEX && host_keyboard_led_state().num_lock)) { /* This is for CAPS LOCK */ // if ((index + i) == CAPS_LOCK_LED_INDEX && host_keyboard_led_state().caps_lock) { /* This is for NUM LOCK */ // if ((index + i) == NUM_LOCK_LED_INDEX && host_keyboard_led_state().num_lock) { /* ONLY USE ONE OF THE ABOVE */ rgb_matrix_set_color(index + i, 255, 255, 255); } else { rgb_matrix_set_color(index + i, r, g, b); } }}** Join the discord and ask for help in the QMK custom-builds channel if you have any issues with the above directions! **
Please note that SignalRGB and VIA do not happily run at the same time. You must quit either VIA (or close the browser tab) before running SignalRGB, or close SignalRGB before attempting to use VIA as the raw_hid_recieve solution that both Software(s) use conflict with each other.
Currently QMK keyboards are only supported in Wired mode, Bluetooth and 2.4Ghz Wireless modes are currently unsupported. Bluetooth as it stands may never be supported due to bandwith limitations, 2.4Ghz may be supported in the future depending upon the implementation of the wireless dongle and firmware.