This tutorial explains how to use JavaScript classes in canvas animations and is not intended for beginners. I recommend going through our Lighting Engine section first and trying the Color Cycle tutorial.
That said, I won't be using strict class syntax here because it's just JavaScript "syntactic sugar," and the underlying concepts remain the same. If you are interested in learning about more complex animations, I suggest checking out this page for a thorough introduction. Otherwise, let's stick with the basics.
To begin, a class is simply a regular JavaScript function. It works the same way, but we add the ability to bind values to a specific instance of the function. In this example, I've created a ball that behaves according to basic physics. It tracks its position and velocity, as well as the "gravity" acting on it.
Simple Bounce
<head> <title>Simple Ball Bounce</title> <meta description="Ball bounce"/> <meta publisher="WhirlwindFX" /></head> <body style="margin: 0; padding: 0;"> <canvas id="exCanvas" width="320" height="200"></canvas></body> <script> // Get the canvas element from the DOM var c = document.getElementById("exCanvas"); var ctx = c.getContext("2d"); // Canvas variables var width = 320; var height = 200; // X-component of ball position let ballX = 160; // Y-component of ball position let ballY = 100; // Change in ballY over time. Positive values move down, negative move up let velocityY = 0; // Change in velocityY over time. let accelerationY = 1; // Effects array let effects = []; function update() { // 1. Overwrite the previous frame ctx.fillStyle = background; ctx.fillRect(0, 0, 320,200); // 2. Make sure there is one instance of the Ball class in the effects array if (effects.length < 1){ effects.push(new Ball()); } // 3. Iterate through the effects array and call each element's draw function effects.forEach(ele => { ele.draw(); }) window.requestAnimationFrame(update); } // 4. Declare the Ball class function Ball(){ // 5. Set instance variables this.bx = ballX; this.by = ballY; this.vy = velocityY; this.ay = accelerationY; this.radius = 15; this.impact = false; // 6. Define draw function this.draw = function(){ // 7. Change the y-velocity by the y-acceleration this.vy += this.ay; // 8. If an impact with the ground has been detected, set the velocity upwards and set the impact boolean to false. This check happens before the next function so that we draw the impact frame instead of skipping it. if (this.impact){ this.vy = -10; this.impact = false; } // 9. Detect a future impact. If the ball position plus its radius plus its velocity would put it under the floor, we run a few operations - if (this.by + this.radius + this.vy > 200){ // Set the velocity to 0 so the ball stays where we put it this frame. this.vy = 0; // Set impact to true so the next run-through draws the up-bounce this.impact = true; // Next frame draws the up-bounce. This frame detected a future collision. If we want to see the impact itself we have to force it. While the ball's outer radius is below the floor, we move the ball up. while (this.by + this.radius < 200){ this.by++; } } // 10. Change the y-component by the y-velocity. this.by += this.vy; // Draw shape. ctx.beginPath(); ctx.arc(this.bx, this.by, this.radius, 0, Math.PI * 2); ctx.fillStyle = "black" ctx.fill(); } } window.requestAnimationFrame(update);</script>
Full Bounce
Once we've worked through the initial complexity, it's easier to add more advanced behavior. In the next example, I've incorporated wall collisions and introduced some random variations in the x-direction to keep the ball in motion.
<head> <title>Full Bounce</title> <meta description="Snake-like climbing gradient effect"/> <meta publisher="WhirlwindFX" /></head> <body style="margin: 0; padding: 0;"> <canvas id="exCanvas" width="320" height="200"></canvas></body> <script> // Get the canvas element from the DOM var c = document.getElementById("exCanvas"); var ctx = c.getContext("2d"); var width = 320; var height = 200; var hue = 0; let ballX = 160; // 1. Added velocityX let velocityX = 0; let ballY = 100; let velocityY = 0; let accelerationY = 1; let effects = []; function update() {} function Ball(){} window.requestAnimationFrame(update);</script>
Multiple Balls
I'm going to be honest with you, this example is Complicated with a capital C, and it likely requires more effort than what you'd need for most basic effects. To save myself from adding too many comments in the code, we'll go over a few tricky concepts here.
First, how does a ball know it will collide with another? Each frame, every instance of the ball class must check the position of every other ball instance. By comparing their positions, we can determine if two balls are within each other’s radius, and then reverse their x- and y-velocities accordingly.
Sometimes, a ball may gain enough velocity to pass through another ball, making them occupy nearly the same space. The math required to adjust both ball positions would be too complex, so I simply remove the ball instance we're currently checking. Since the update function ensures a minimum number of balls, a new ball instance will be created, and the simulation will continue.
Finally, when should we calculate the change in velocity and position for each ball? Does it matter whether the ball is drawn before or after the variables are updated? The issue in programming is that there are multiple answers to both questions. To handle this, I’ve introduced a slightly different method of tracking collisions. It’s up to you to choose the one you prefer, but both methods can and do work.
<head> <title>Multiple Balls</title> <meta description="Snake-like climbing gradient effect"/> <meta publisher="WhirlwindFX" /></head> <body style="margin: 0; padding: 0;"> <canvas id="exCanvas" width="320" height="200"></canvas></body> <script> // Get the canvas element from the DOM var c = document.getElementById("exCanvas"); var ctx = c.getContext("2d"); var width = 320; var height = 200; var hue = 0; let ballX = 160; let velocityX = 0; let ballY = 100; let velocityY = 0; let accelerationY = 1; let effects = []; function update() {} function Ball(){} window.requestAnimationFrame(update);</script>
User Controls
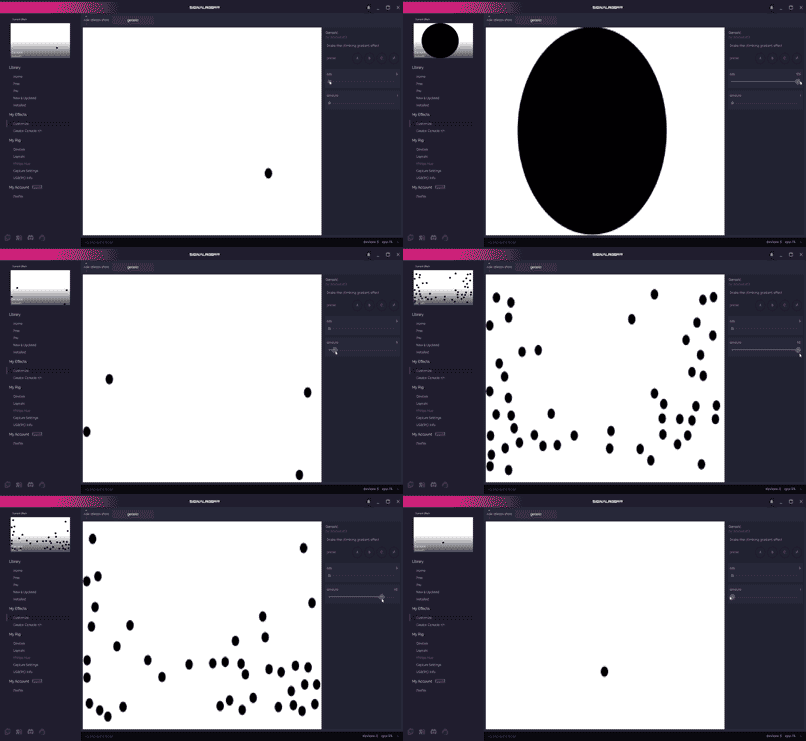
Finally, we'll add some basic user controls to make things more interesting. I've already discussed hue changes in detail, so to keep the code from becoming even more complicated, we'll focus on adjusting the number and radius of the balls. This only requires a few modifications to the existing functions.
<head> <title>User Controls</title> <meta description="Snake-like climbing gradient effect"/> <meta publisher="WhirlwindFX" /> <!-- Add two numerical sliders: radius and amount ---> <meta property="radius" label="Size" type="number" min="5" max="100" default="20"> <meta property="amount" label="Amount" type="number" min="1" max="50" default="2"></head>
I hope you've enjoyed our JavaScript class animation tutorial! Even at this level of complexity, this effect is just the tip of the iceberg in terms of what you can achieve with the HTML canvas. Additionally, I wouldn’t consider it finished just yet. If we aim for perfection, you’ll notice that ball collisions are detected one frame before they happen, which means they often don’t actually collide. The collisions are also simplified in terms of energy transfer, since the resulting velocity only considers the ball's current velocity and doesn't account for the energy of the other ball. Lastly, checking each ball’s position multiple times per loop is inefficient in terms of time complexity and could be optimized with basic memoization.
In the end, always be critical of your effects. They can usually be improved in one way or another, and the difference between a mediocre effect and a great one often comes from simply staring at it and allowing yourself to dislike it at least once.
For one final step-by-step tutorial, check out our Callbacks section, where I walk through the process of capturing meter data to activate and deactivate effects.